How a Blood Pressure Monitor Works
How a blood pressure monitor works, step by step, from cuff inflation to systolic and diastolic readings, with a visual explanation of why technique matters.
How a blood pressure monitor works, step by step, from cuff inflation to systolic and diastolic readings, with a visual explanation of why technique matters.
People often think a home blood pressure monitor is doing something mysterious. The cuff tightens, the machine pauses, then two numbers appear. Because the process is hidden, it can feel like the monitor is guessing.
It is not guessing randomly. A cuff-based monitor works by creating a controlled pressure environment around your artery, then measuring how blood flow behaves as that pressure changes. That is why cuff monitors are still the standard for reliable home readings.
This guide walks through the process visually, step by step.
Step 1: The cuff creates a controlled measurement setup
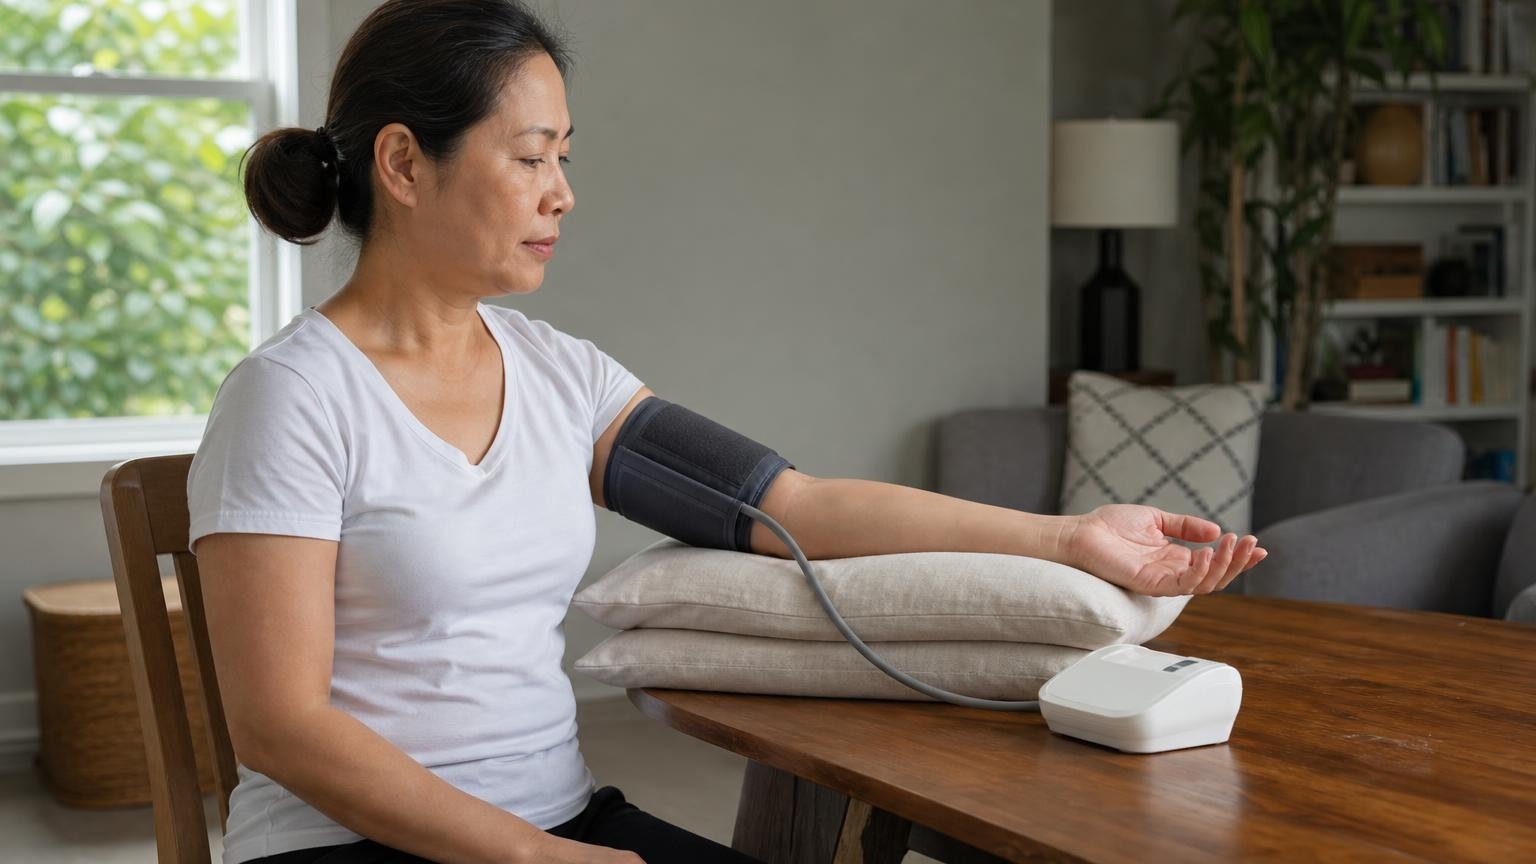
Before the monitor can measure anything, the cuff has to sit in the right place on the upper arm. That placement matters because the cuff is not just holding the device steady. It is creating the measurement condition the monitor depends on.
An upper-arm device works best when the cuff is wrapped snugly, placed correctly, and used with the arm supported near heart level.
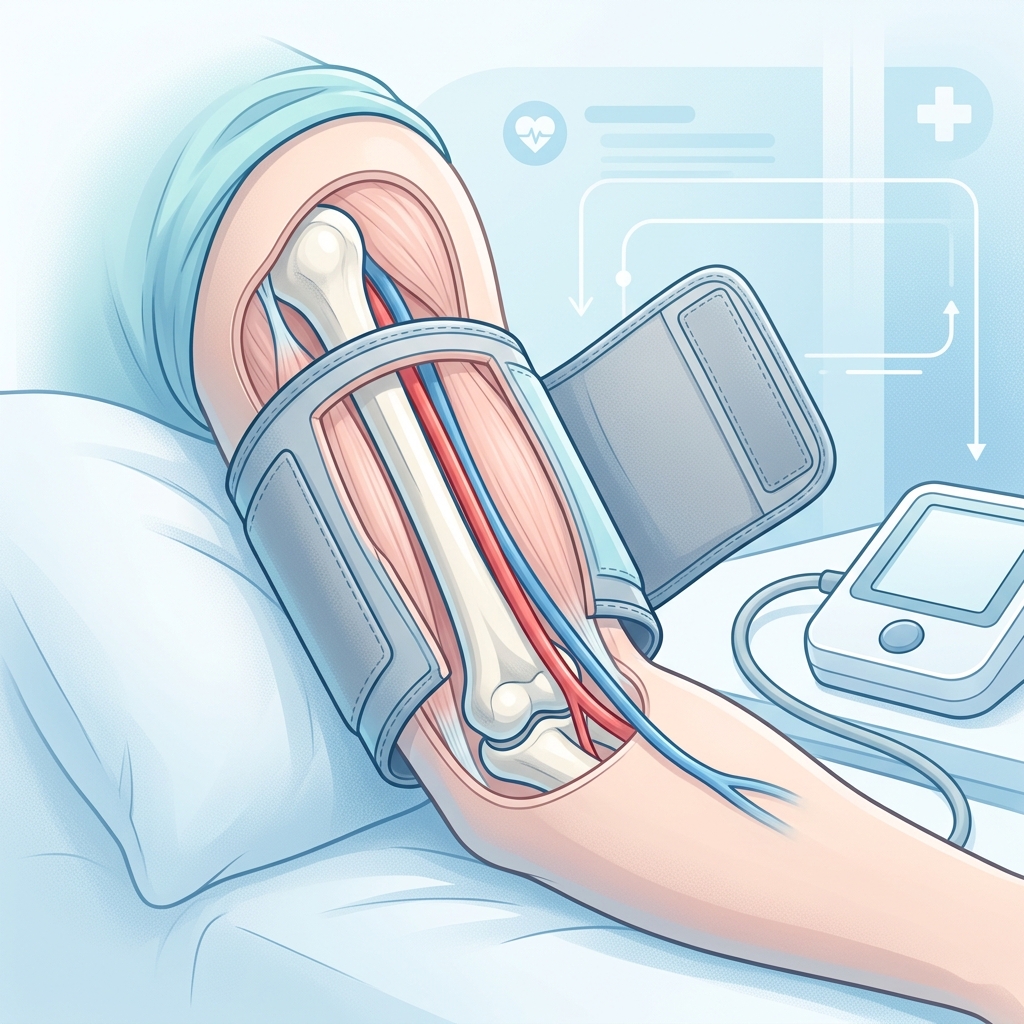
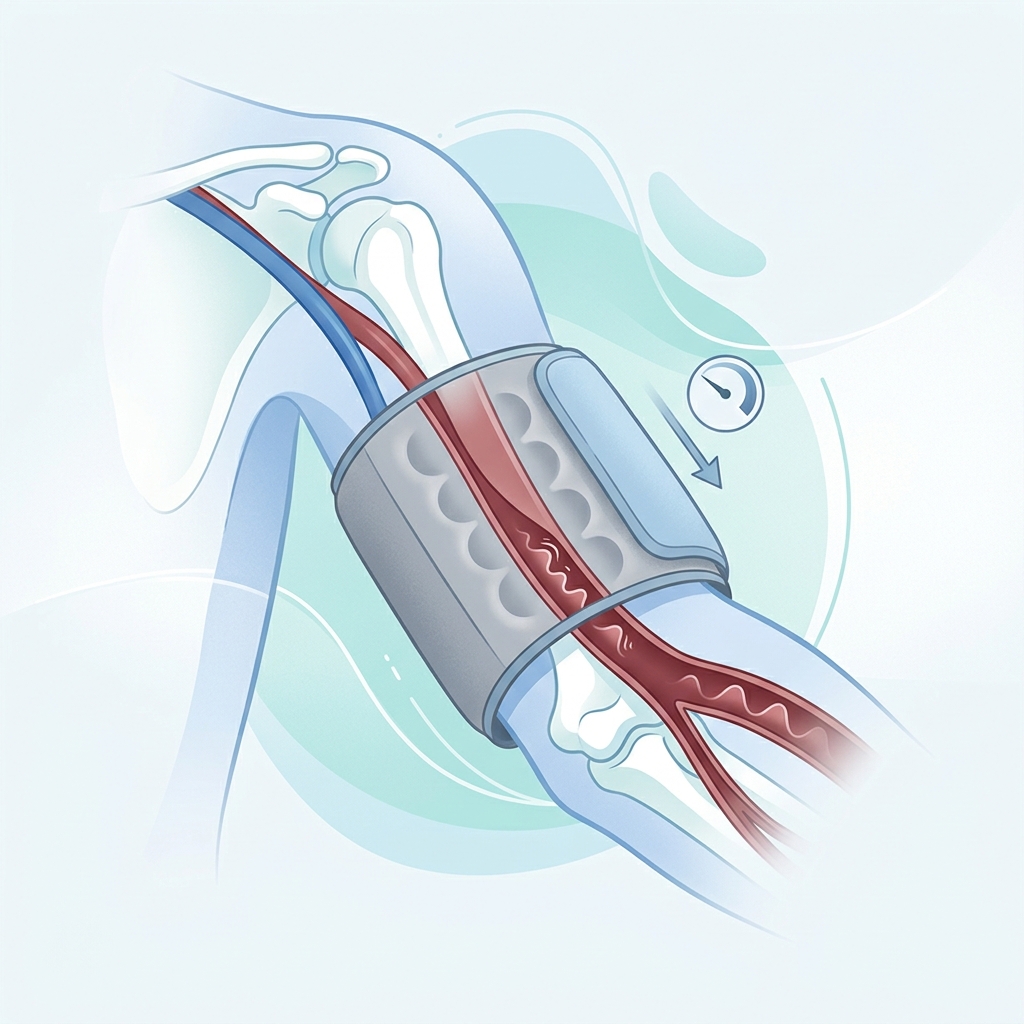
Step 2: Inflation restricts blood flow through the artery
Once the reading starts, the cuff inflates and applies pressure around the upper arm. At high enough pressure, blood flow through the artery is temporarily restricted.
That may sound aggressive, but it is exactly what allows the device to measure blood pressure in a consistent way.
This is the moment where cuff-based monitors separate themselves from indirect methods. They are not relying only on a passive signal. They are actively creating a condition they can measure.
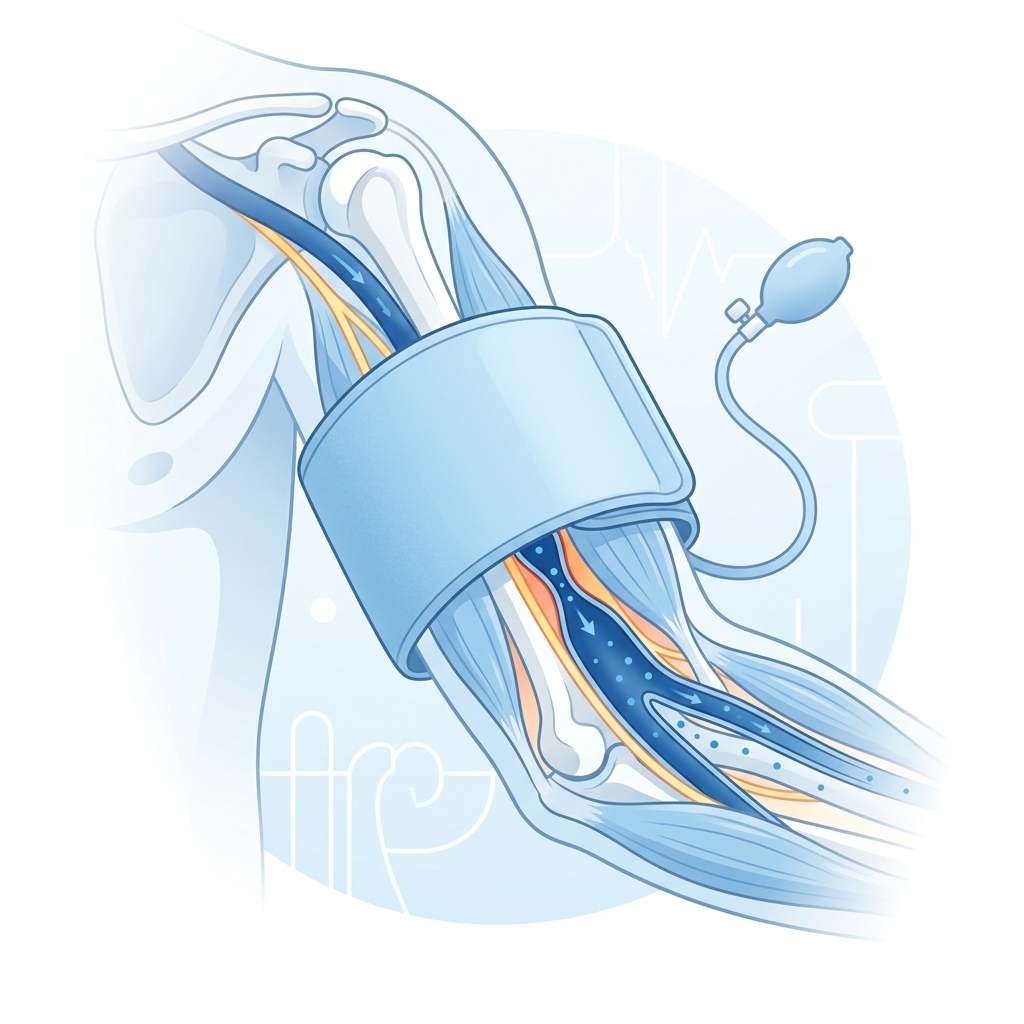
Step 3: The first returning pulse helps define systolic pressure
As the cuff slowly releases pressure, blood begins to move through the artery again. The first detectable return of pulsatile flow is part of how the monitor estimates the upper number in your reading, the systolic pressure.
In a manual reading, a clinician listens for this stage with a stethoscope. In most home monitors, the device detects it through oscillometric signal changes.
Step 4: The monitor tracks oscillations as pressure falls
Most home blood pressure monitors use an oscillometric method. That means the device looks at how the arterial signal changes throughout the deflation phase.

This is why movement, talking, bad posture, or a poor cuff fit can ruin a reading. The device is interpreting a real physical signal, and signal noise makes the result less trustworthy.
Step 5: The device calculates systolic and diastolic values
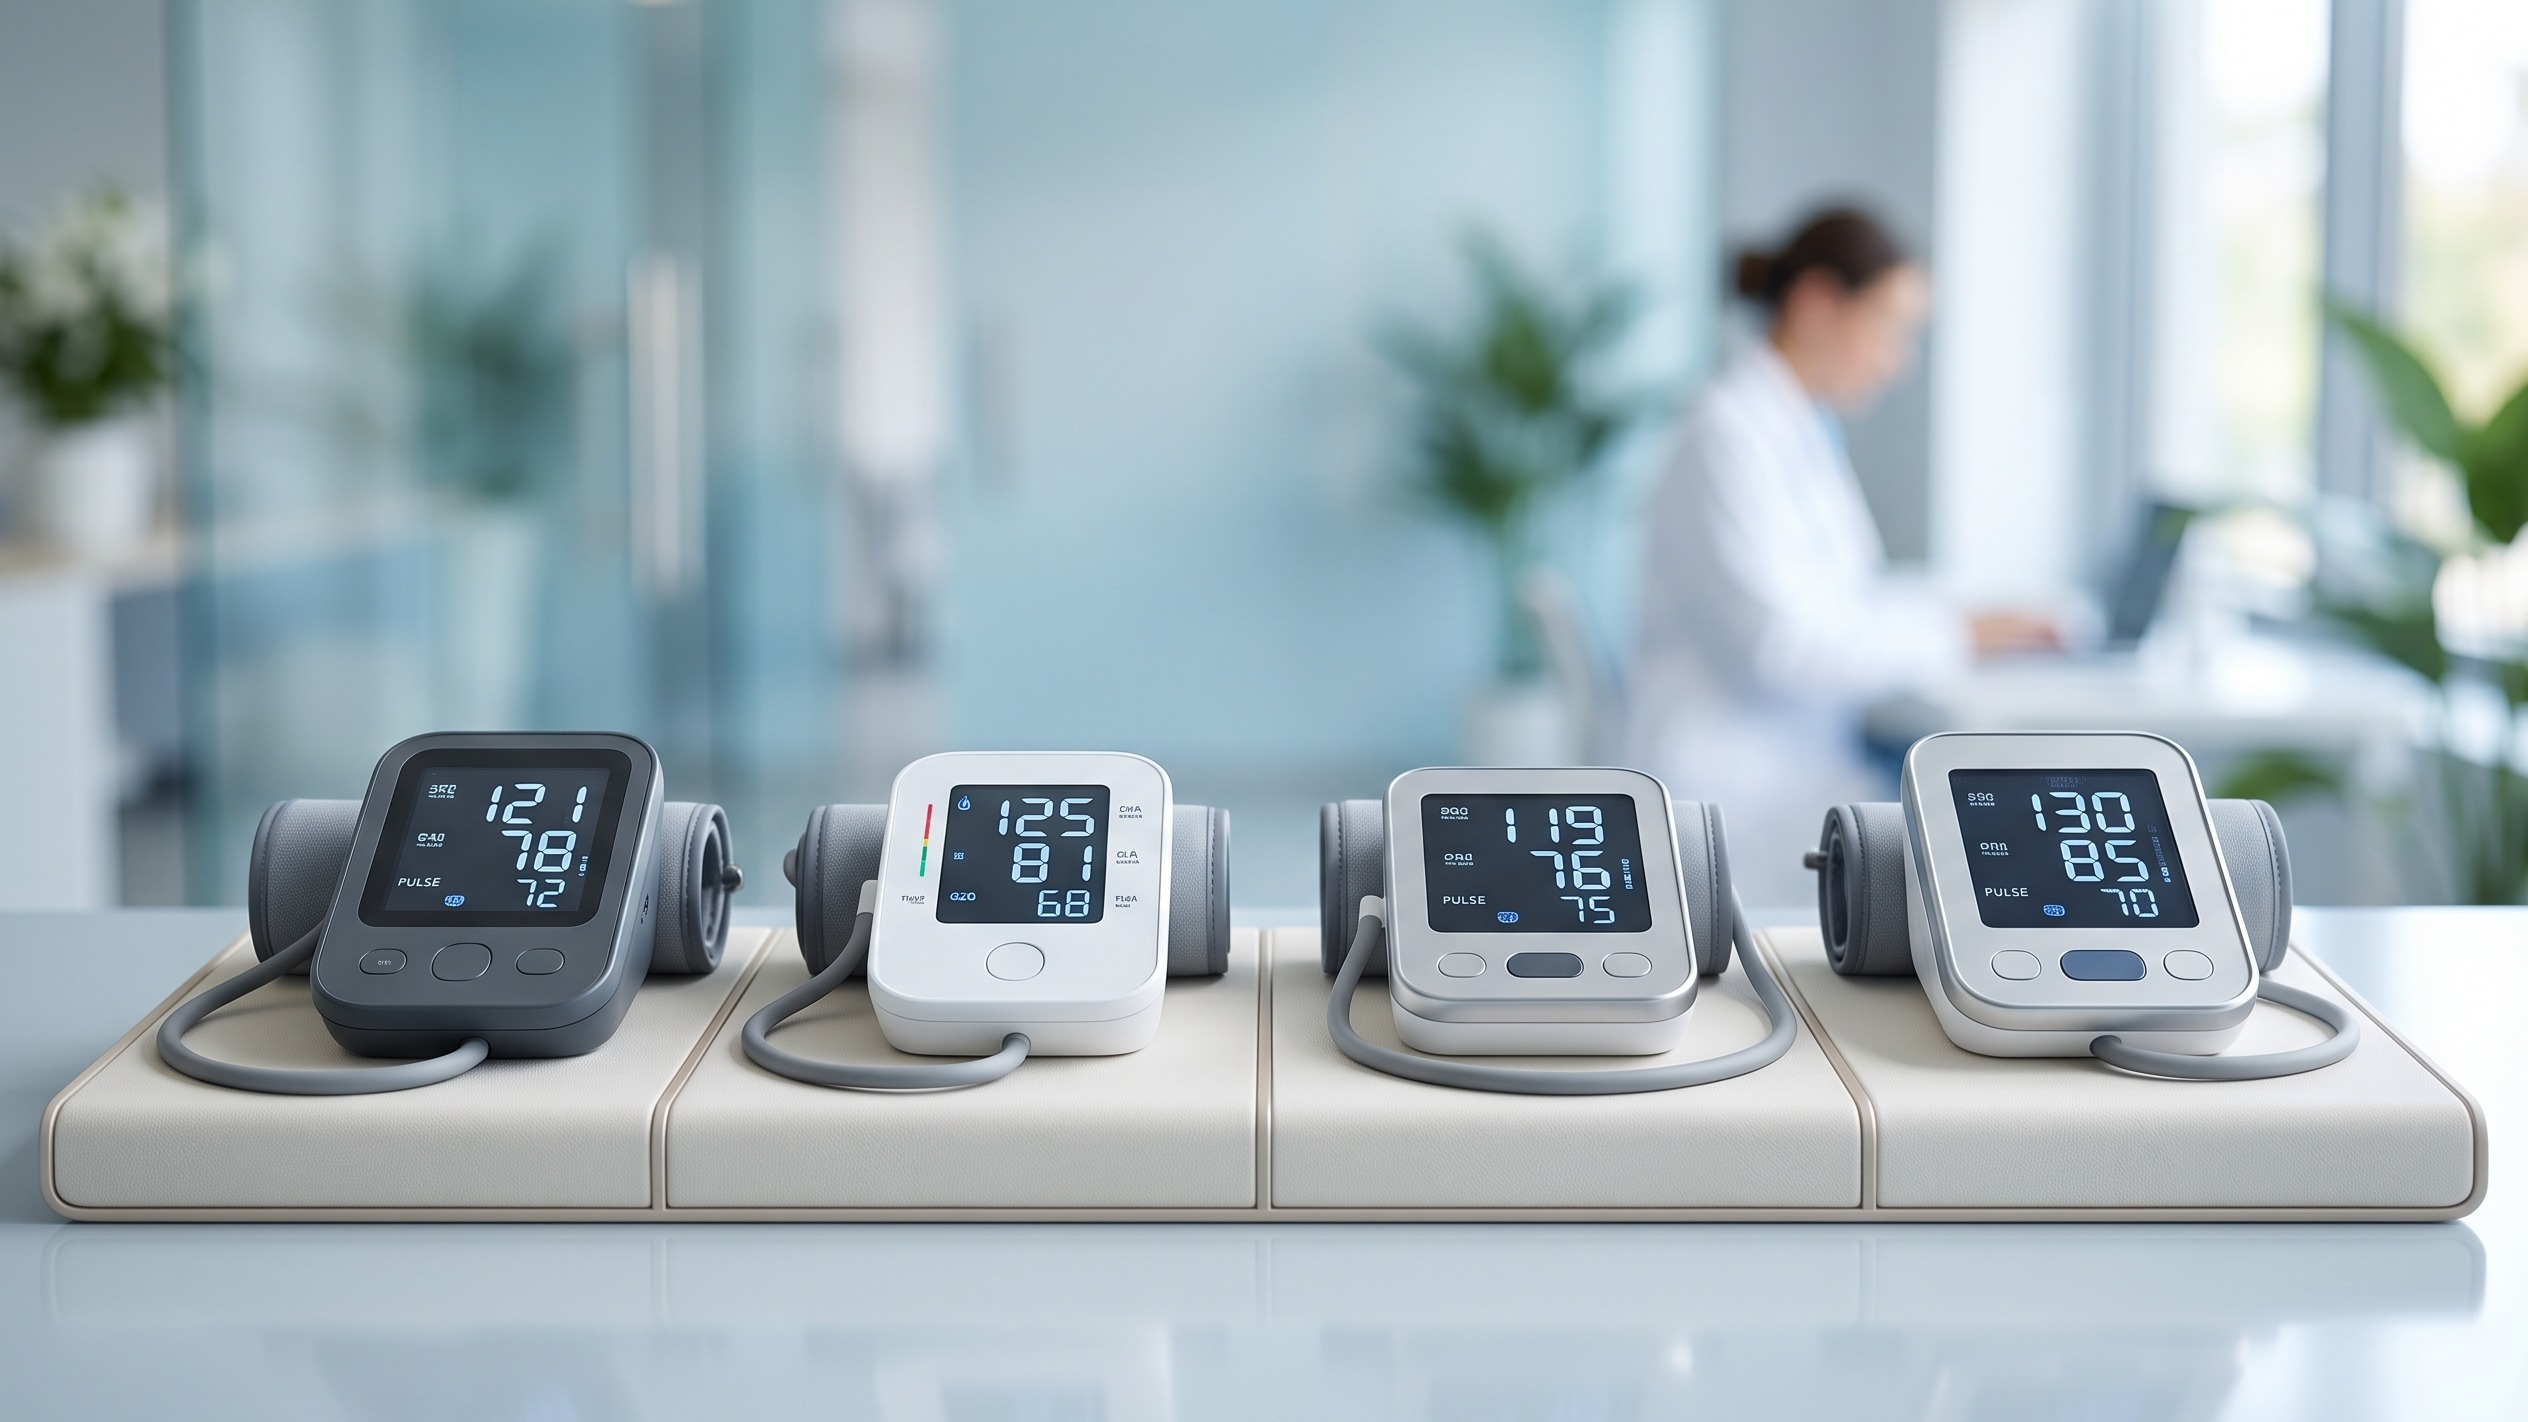
The monitor does not simply “see” your blood pressure directly. It collects data from cuff pressure and oscillation patterns, then uses an algorithm to estimate systolic and diastolic values.
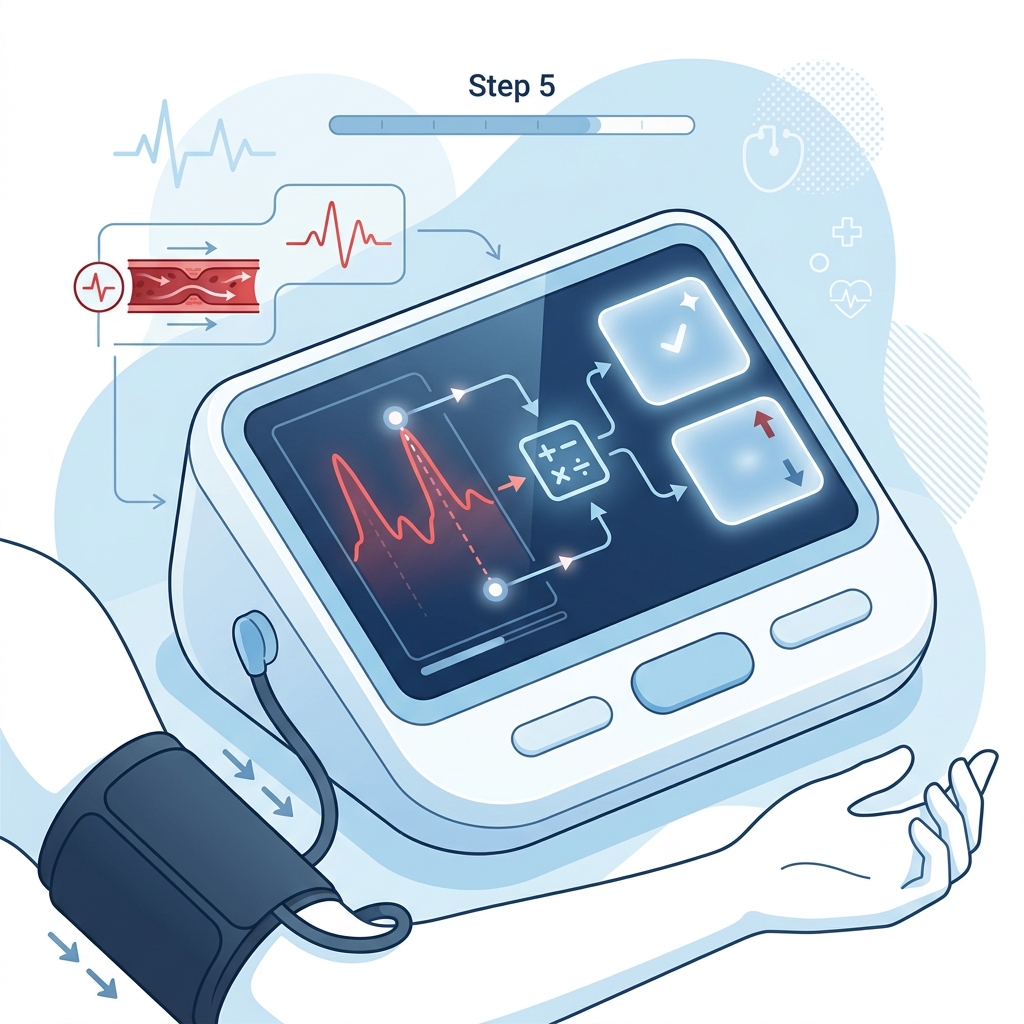
That is also why not all monitors are equal. Two devices may look similar from the outside but differ substantially in how well they interpret and handle those signals.
Step 6: The final reading only matters if the process was sound
At the end, the monitor shows your blood pressure reading. But the reading is only as good as the setup and signal quality that came before it.
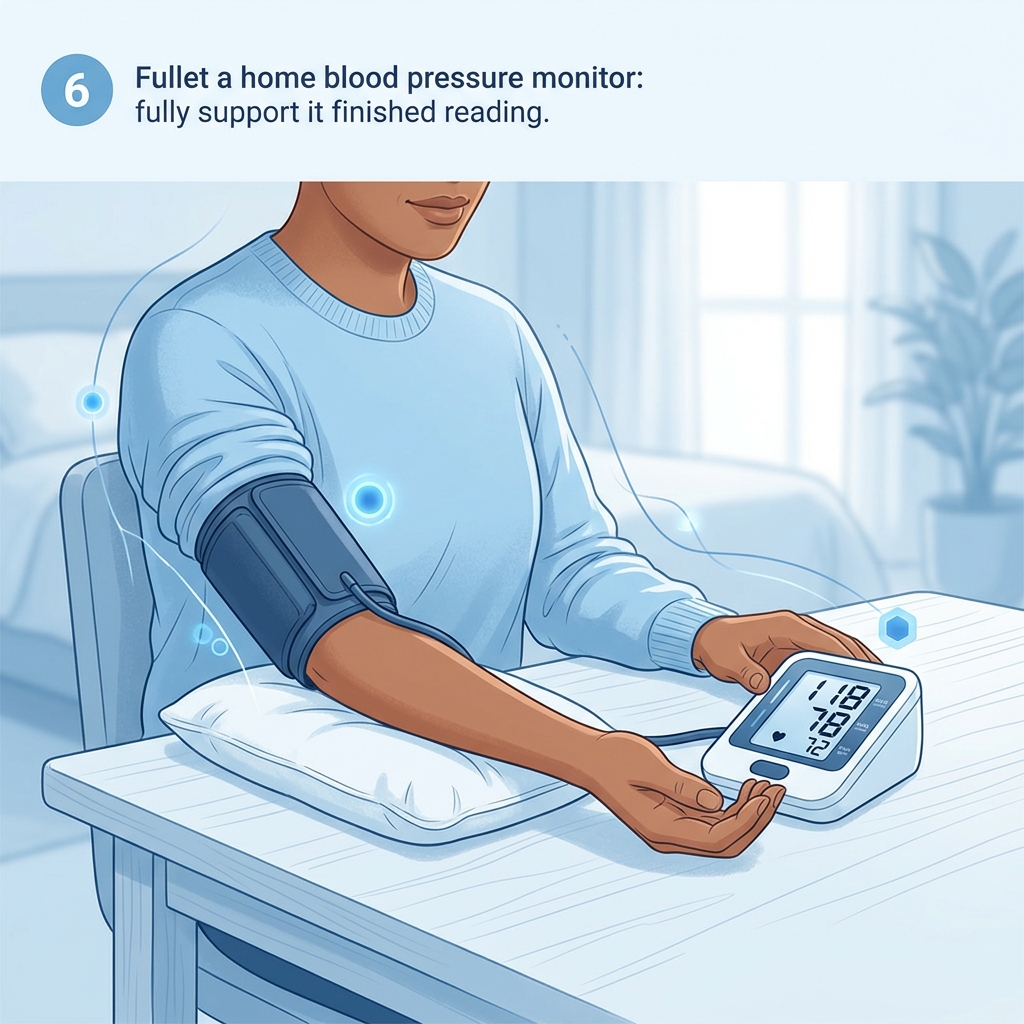
That is why blood pressure technique advice matters so much. If your back is unsupported, your feet are dangling, your cuff is the wrong size, or your arm is below heart level, the reading can be misleading.
Why cuff size and upper-arm placement matter so much
A cuff that is too small may push readings higher than they really are. A cuff that is too large may push them lower. And even a good cuff works best on the upper arm, where the artery and positioning are generally more suitable for this kind of measurement.
That is the reason validated upper-arm devices remain the default recommendation for most people.
Why cuff monitors are still the benchmark
Cuff-based monitors are still the benchmark because they do the best job of creating a repeatable, controlled measurement environment around the artery. That does not make them glamorous. It makes them dependable.
If you want the deeper argument for why cuffless and wrist-first alternatives still struggle to replace them completely, this post continues that discussion:
Bottom line
A blood pressure monitor works by inflating a cuff around the arm, temporarily restricting blood flow, then analyzing how pulse signals return as pressure is released. From that process, it estimates systolic and diastolic pressure.
Once you understand that sequence, the usual advice about posture, cuff size, stillness, and validation stops sounding fussy. It is all about protecting the signal the device is trying to read.
If you are still choosing a device, start with a validated upper-arm model:
This article is educational and not medical advice. Consult a qualified clinician before making decisions about diagnosis, treatment, or medication.
Top 5 picks
Best Home Blood Pressure Monitors for 2026
Five upper-arm monitors ranked with published scorecards—setup friction, comfort, readability, power convenience, and repeatable accuracy—so you can compare models before you buy.
See our Top 5 blood pressure monitor picksHome-monitoring advice is only useful if it is easy to verify and act on correctly.
We write explainers to be understandable to readers, search engines, and AI answer systems.
Compare our Top 5 blood pressure monitor picks for 2026 , then track readings over time with consistent technique.