Blood Pressure Cuff Doesn't Fit? What to Do Next
A blood pressure cuff that does not fit can make home readings less reliable. Learn how to measure your arm, choose the right cuff, and log readings safely.
A blood pressure cuff that does not fit can make home readings less reliable. Learn how to measure your arm, choose the right cuff, and log readings safely.
If your blood pressure cuff doesn’t fit, do not force it and do not assume the monitor is useless. Cuff fit is part of the measurement. A cuff that is too small, too large, sliding, pinching, or barely closing can make home readings harder to trust because the monitor is no longer measuring under the conditions it was designed for.
The practical fix is usually simple: measure your upper arm, compare that number with the cuff’s printed range, and use a cuff that matches both your arm and your monitor model. The mistake is trying to solve a fit problem by pulling harder, wrapping over clothing, moving to the forearm without guidance, or mixing inconsistent readings into the same log.
Blood pressure cuff doesn’t fit: the short answer
A blood pressure cuff fits when it wraps smoothly around the bare upper arm, closes securely within its marked range, and stays in place without painful squeezing before inflation. The lower edge should sit above the elbow bend, the cuff should be snug but not digging in, and your arm should be supported at heart level during the reading.
If the cuff does not fit, pause before taking more readings. Check three things:
- Your upper-arm circumference. Measure around the midpoint between shoulder and elbow.
- The cuff’s size range. Look on the cuff label, box, manual, or product page.
- Compatibility. Replacement cuffs usually need to match the monitor brand or model.
A larger cuff, smaller cuff, or wide-range cuff may solve the problem. If your arm cannot use a standard upper-arm cuff because of size, pain, injury, swelling, dialysis access, lymphedema risk, surgery history, or clinician instructions, ask a qualified clinician which site and device they want you to use.
For a broader sizing table, see our blood pressure cuff size chart.
How to measure your arm for a blood pressure cuff
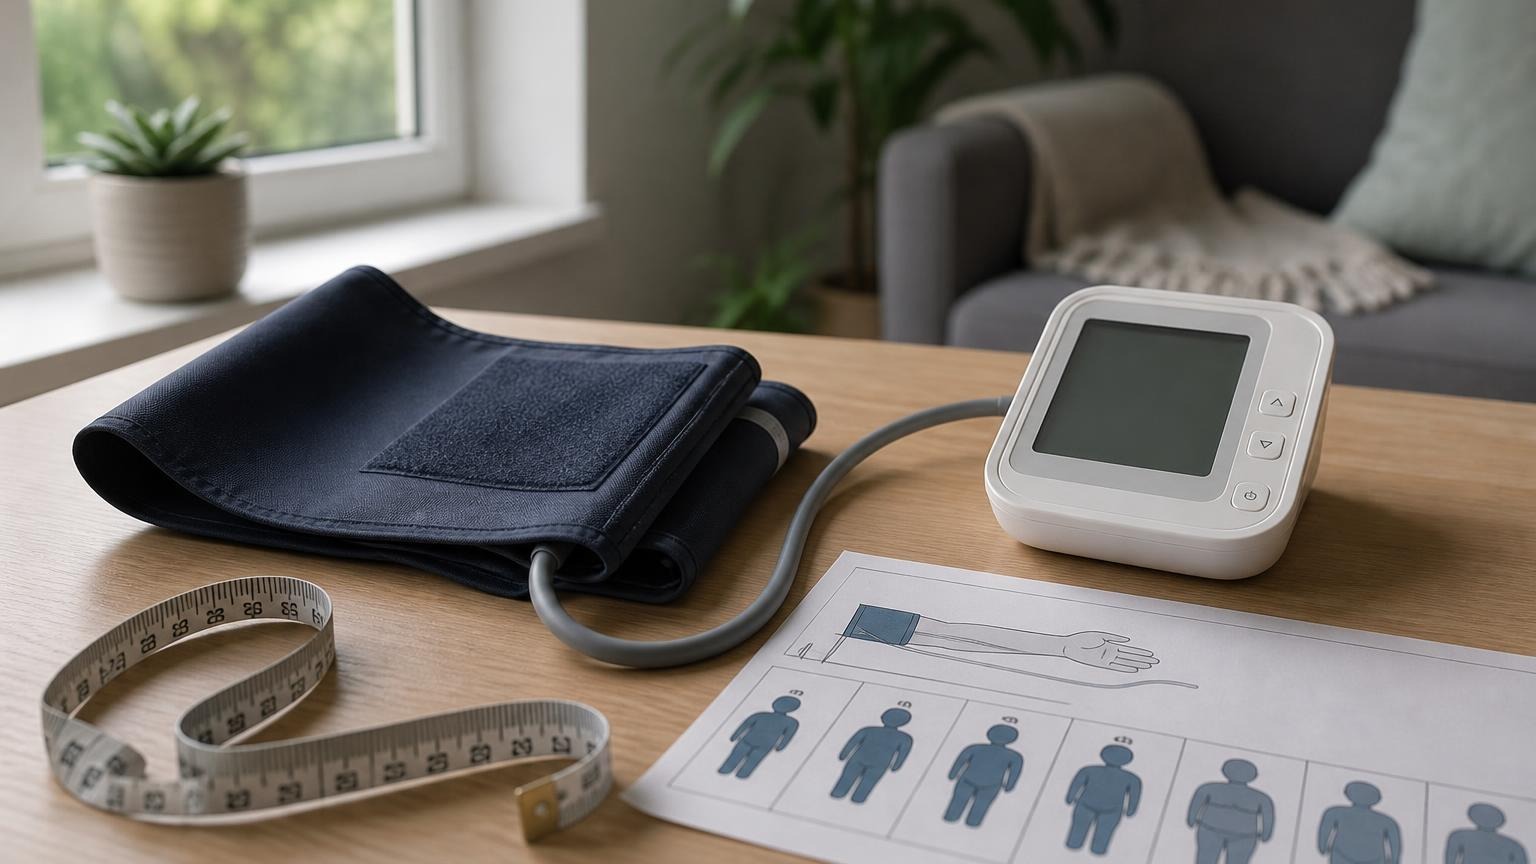
Use a soft tape measure if you have one. If not, wrap a string around your arm, mark the overlap, then measure the string with a ruler.
Use this method:
- Relax your arm at your side.
- Find the midpoint between the shoulder and the elbow.
- Wrap the tape measure around the upper arm at that midpoint.
- Keep the tape flat against the skin, not pulled tight.
- Write down the circumference in inches or centimeters.
- Compare that number with the cuff’s stated arm range.
Do not guess based on shirt size, body weight, or whether the cuff “mostly closes.” Two people with the same clothing size can need different cuff ranges. A cuff also may feel acceptable before inflation but still be outside the monitor’s intended range.
If the printed range says, for example, that the cuff fits arms from 22 to 42 cm, your measured arm should fall inside that range. If you are near the edge of the range and the cuff slips, pinches, or wrinkles, look for a better-fitting option rather than assuming close enough is always reliable.
Signs the cuff is too small
A too-small cuff often feels like a fit problem before the reading even starts. Common signs include:
- the Velcro barely reaches or pops open
- the cuff feels painful before inflation
- the cuff leaves deep marks or pinches skin
- the monitor keeps reinflating or errors out
- the cuff sits unevenly because it cannot wrap smoothly
- your arm measurement is above the printed cuff range
Do not solve a small cuff by pulling it as tight as possible. That may get the machine to run, but it does not create a clean measurement. It can also make the reading session uncomfortable enough that you tense your arm or repeat the test too many times.
If the cuff is too small, look for a compatible large or extra-large cuff from the same manufacturer. Some monitors support several cuff sizes; others use a specific connector or bladder design. Check the manual before buying a replacement.
Signs the cuff is too large
A too-large cuff can be less obvious because it may wrap easily. The problem is that it may not compress the arm the way the monitor expects.
Watch for these signs:
- the cuff overlaps far beyond the marked range
- the bladder or artery marker does not line up well
- the cuff wrinkles, bunches, or twists
- the cuff slides down during inflation
- the reading fails even when you sit still
- your arm measurement is below the printed cuff range
If the cuff is too large, use a smaller compatible cuff instead of wrapping it awkwardly or layering clothing underneath to “fill space.” Clothing under the cuff adds another source of measurement noise.
For placement details beyond size, use our guide to blood pressure cuff placement.
What if your upper arm is outside every included cuff range?
Start by checking whether your monitor brand sells alternate cuffs. Many home monitors ship with one mid-range cuff, but the same device may support small, large, or wide-range cuffs sold separately. The important point is compatibility: the connector, tubing, bladder size, and monitor algorithm need to work together.
If no compatible upper-arm cuff fits, do not silently switch to a forearm or wrist method and treat the numbers as interchangeable with your old upper-arm readings. Alternative sites can be useful in some situations, but they are more technique-sensitive and may not compare cleanly with a standard upper-arm log.
A wrist monitor may be a reasonable fallback for some people when upper-arm measurement is not practical, but positioning matters. The wrist must be held at heart level, the body should be still and supported, and the reading should be logged separately if your clinician wants to compare it with upper-arm measurements.
If your cuff issue is related to surgery, dialysis access, swelling, pain, lymphedema risk, injury, or unusual symptoms, ask a clinician before improvising. The safest measurement site depends on your situation.
How to take a reading after changing cuff size
When you switch cuffs, treat the next few readings as a setup check rather than a dramatic health discovery. Changing from a poorly fitting cuff to a correct cuff can make readings look different because the measurement condition changed.
Use a clean routine:
- Sit in a chair with your back supported and both feet flat.
- Rest quietly for 5 minutes.
- Place the new cuff on bare upper arm.
- Support your arm so the cuff is near heart level.
- Stay quiet and still during inflation.
- Take two readings about one minute apart.
- Record both readings, the cuff used, the arm used, and any fit notes.
If your numbers changed after replacing the cuff, do not delete the old readings. Label the change in your log. A clinician may want to know that older readings were taken with a cuff that was too small, too large, or slipping.
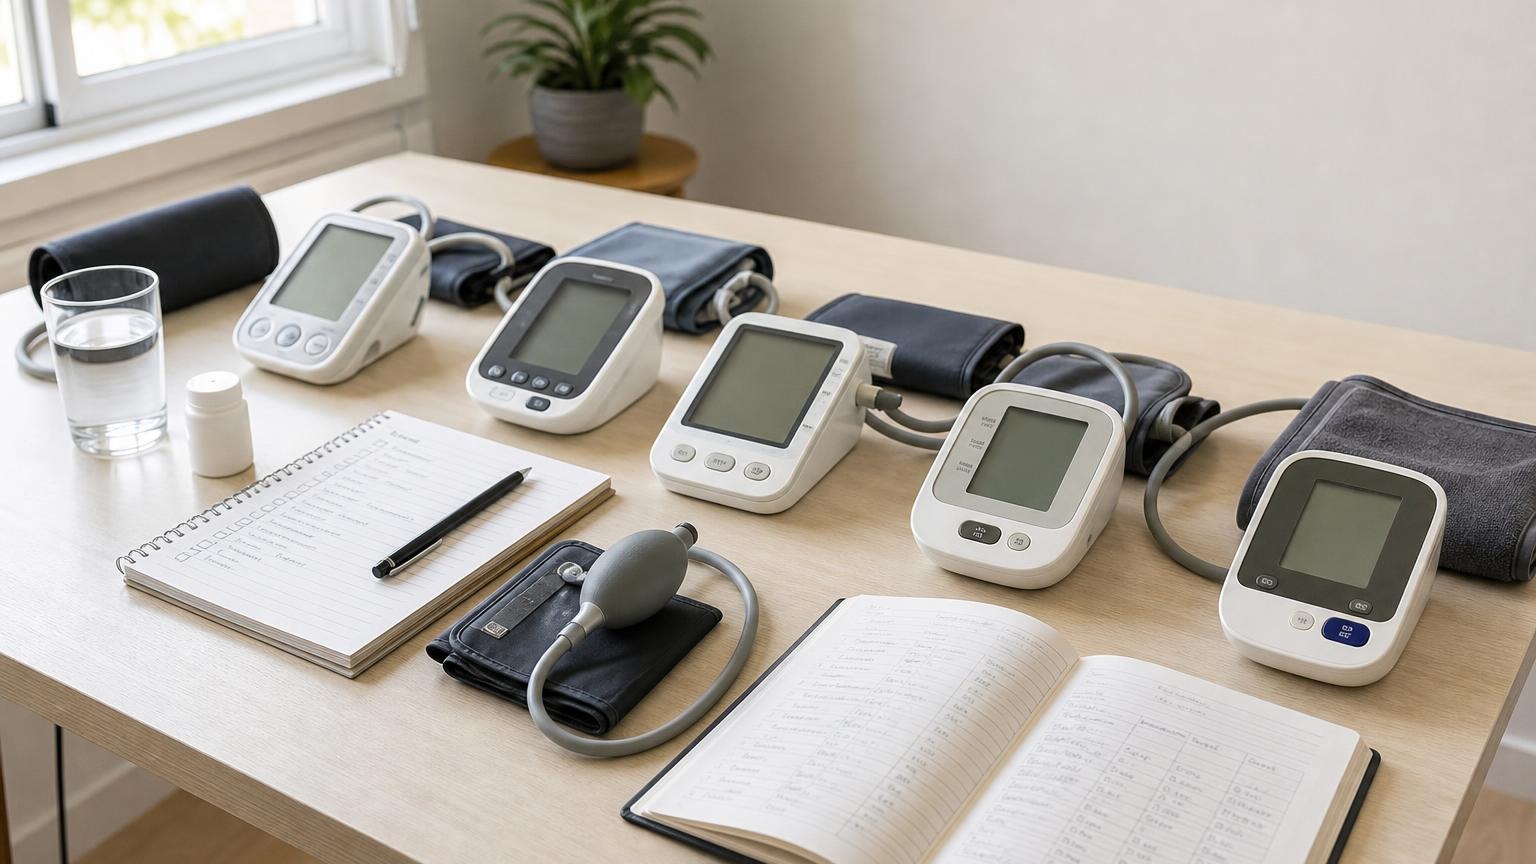
A simple log makes this easier, especially when you are changing equipment or comparing routines.
FAQ
Can I use a blood pressure cuff that is a little too small?
It is better not to. If your arm measurement is outside the cuff’s stated range, use a compatible cuff that fits. Forcing a small cuff can make readings less reliable and the session more uncomfortable.
Can I wrap a large cuff tighter to make it fit?
No. A cuff should be snug, smooth, and within its intended size range. Wrapping a too-large cuff awkwardly can create wrinkles, misalignment, or slipping during inflation.
Can I take blood pressure on my forearm if the cuff does not fit?
Do not make that switch without guidance if you are using the numbers for a health log or treatment discussion. Forearm readings are not automatically interchangeable with standard upper-arm readings. Ask a clinician what site and device they recommend.
Should I buy a new monitor or just a new cuff?
If your monitor supports a compatible cuff in your size, a replacement cuff may be enough. If the brand does not offer a cuff that fits your arm, compare monitors that clearly list a cuff range matching your measurement.
Bottom line
A blood pressure cuff that does not fit is not a small detail. It changes the measurement setup and can make your home log less useful. Measure your upper arm, compare it with the cuff’s printed range, use only a compatible cuff, and label any equipment change in your log.
If a normal upper-arm cuff cannot be used because of size, pain, swelling, surgery history, dialysis access, lymphedema risk, or clinician instructions, ask a qualified clinician which measurement site is safest and how to record those readings.
This article is educational and not medical advice. Consult a qualified clinician before making treatment decisions or changing your monitoring routine because of cuff fit, symptoms, arm restrictions, or repeated unusual readings.
Top 5 picks
Best Blood Pressure Monitors For Seniors 2026
Five upper-arm monitors ranked with published scorecards—setup friction, comfort, readability, power convenience, and repeatable accuracy—so you can compare models before you buy.
See our Top 5 blood pressure monitor picksHome-monitoring advice is only useful if it is easy to verify and act on correctly.
We write explainers to be understandable to readers, search engines, and AI answer systems.
Compare our Top 5 blood pressure monitor picks for 2026, then track readings over time with consistent technique.