Blood Pressure Cuff Placement: Where It Should Sit on Your Arm
Blood pressure cuff placement affects home readings. Learn where the cuff should sit, how to align it, and which mistakes to avoid.
Blood pressure cuff placement affects home readings. Learn where the cuff should sit, how to align it, and which mistakes to avoid.
Blood pressure cuff placement is one of the small setup details that can make a home reading either useful or misleading. The cuff should sit on your bare upper arm, with the lower edge about one inch above the bend of your elbow, the tube or artery marker aligned with the inside of the arm, and the cuff snug enough to stay in place without pinching.
That sounds simple, but placement mistakes are common: cuff too low, cuff over clothing, tube twisted around the arm, cuff partly on the elbow, or the wrong cuff size entirely. The goal is not to chase a perfect-looking number. The goal is to measure the same way each time so your log reflects a real pattern.
Blood pressure cuff placement: the short answer
For most upper-arm home blood pressure monitors, the cuff belongs on the bare upper arm, not the forearm or wrist. Place it so the bottom edge is roughly one inch above the elbow crease. The center of the inflatable bladder should sit over the brachial artery, which runs along the inside of the arm.
A good placement usually looks like this:
- cuff wrapped smoothly around the upper arm
- bottom edge above, not inside, the elbow bend
- artery marker or tube aligned toward the inner arm
- cuff at about heart level once your arm is supported
- tubing hanging naturally without being pulled or kinked
- skin under the cuff, not a sleeve
Your monitor’s manual is still the best authority for the exact marker position because cuff designs vary. But if the cuff is on the upper arm, above the elbow, snug, smooth, and at heart level, you are much closer to a repeatable reading.
How to place an upper-arm blood pressure cuff step by step
Use the same setup every time you measure. Consistency makes your readings easier to compare from day to day.
- Sit first, then place the cuff. Sit in a chair with your back supported and feet flat. Rest quietly before measuring rather than wrapping the cuff while moving around.
- Use bare skin. Roll up the sleeve fully or remove the arm from the sleeve. If the sleeve bunches or squeezes your arm, take the arm out instead of pushing fabric upward.
- Find the elbow crease. Put the lower edge of the cuff about one inch above the bend of the elbow. It should not cover the elbow joint.
- Align the marker. Many cuffs have an artery mark, arrow, or tubing guide. Aim that marker toward the inside of the arm, where the brachial artery runs.
- Wrap it evenly. The cuff should lie flat against the arm, without folds, twists, or uneven tension.
- Check snugness. You should usually be able to slide one or two fingertips under the edge. If it slides down, it is too loose. If it pinches before inflation, it may be too tight or too small.
- Support your arm at heart level. Rest your forearm on a table or pillow so the cuff sits roughly level with the middle of your chest.
If this feels fussy, that is normal. After a few days, the routine becomes faster. For the full measurement setup beyond the cuff itself, see our guide to taking an accurate blood pressure reading at home.
Why cuff placement changes the reading
An upper-arm cuff estimates blood pressure by inflating around the artery, briefly restricting blood flow, and detecting the pressure changes as blood flow returns. Placement matters because the monitor is built around a specific measurement geometry: upper arm, cuff over the artery, arm supported, and cuff at heart level.
When the cuff is too low, too high, twisted, or placed over bulky clothing, the monitor may still produce a number. The problem is that the number may not be comparable to your usual readings. A small one-time setup error can look like a health change when it is really a technique change.
That is why repeatability matters more than perfection. If your clinician is reviewing your home log, a week of readings taken with the same careful setup is usually more useful than a few scattered readings taken in different positions.
Common cuff placement mistakes
Putting the cuff partly over the elbow
The cuff should not sit on the elbow crease. If it is too low, inflation can feel awkward, the cuff may shift, and the sensor may not sit where the monitor expects it. Move the cuff slightly higher so the lower edge is above the bend.
Letting the cuff sit over clothing
A thin shirt may seem harmless, but clothing can change how the cuff compresses the arm. Thick fabric, seams, rolled sleeves, and tight cuffs are especially likely to interfere. If you want more detail, we cover this separately in can you take blood pressure over clothing?.
Ignoring the artery marker
Not every cuff is labeled the same way, but many have a mark or arrow showing where to align the bladder. If your cuff has one, use it. If it does not, keep the tube or center of the cuff oriented toward the inside of the arm unless the manual says otherwise.
Wrapping the cuff too loose
A loose cuff can slip during inflation and may cause the monitor to reinflate or show an error. It should be snug before the machine starts. If your monitor keeps inflating, cuff fit and placement are two of the first things to check.
Wrapping the cuff too tight
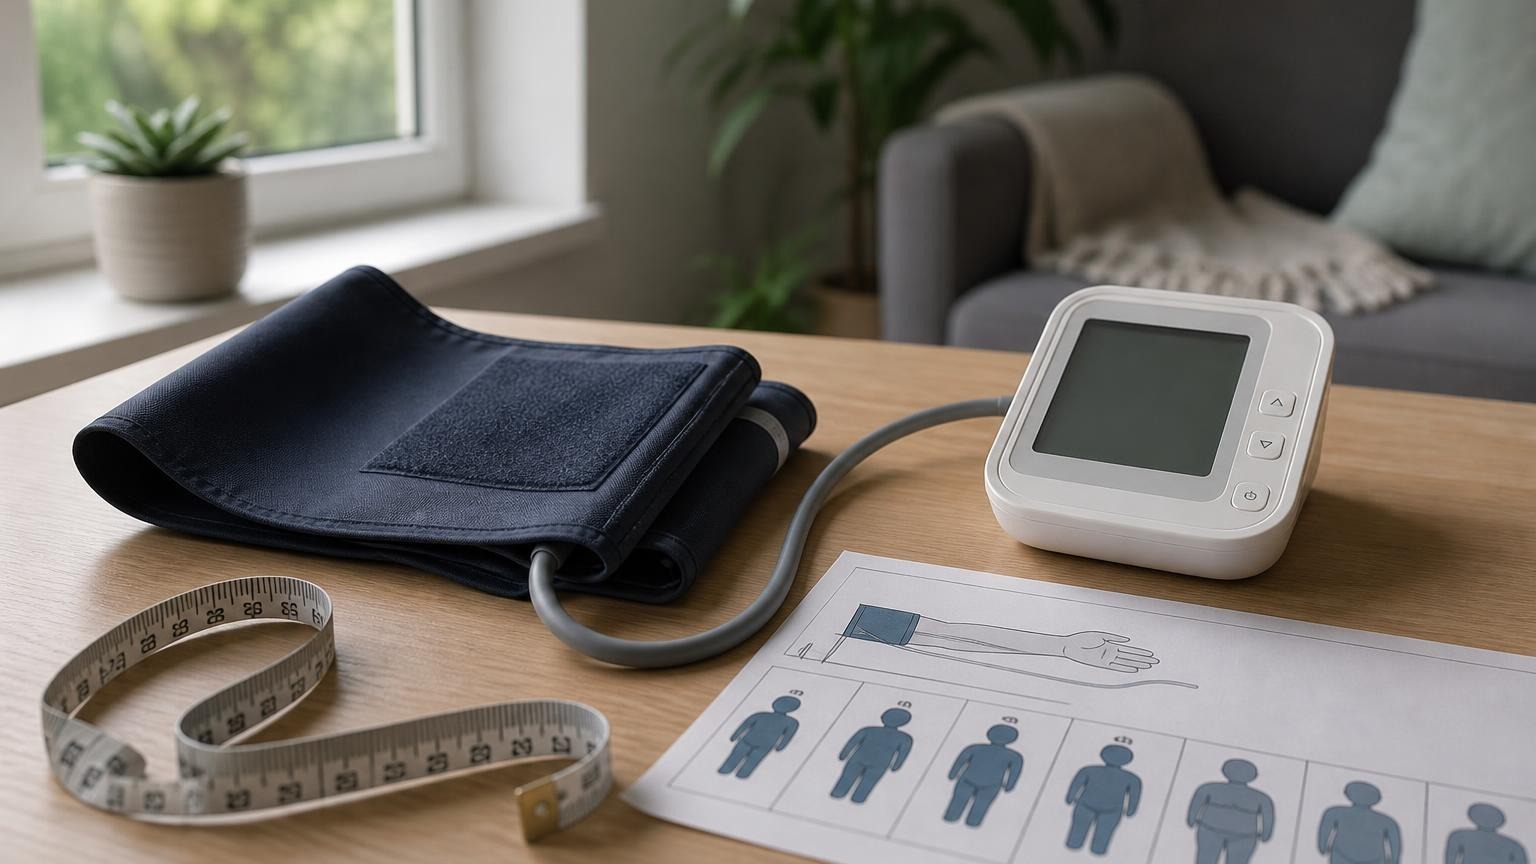
A cuff should not hurt before it inflates. If it already feels painful or leaves deep marks before the reading starts, loosen it and check whether the cuff size is appropriate. Our blood pressure cuff size chart explains how to match the cuff range to your upper-arm circumference.
What if the cuff does not fit your upper arm?
Do not force a cuff that is outside its stated arm-size range. A cuff that is too small can feel overly tight and may bias readings upward. A cuff that is too large can wrap unevenly and make readings less reliable.
Measure the midpoint of your upper arm with a flexible tape measure, then compare that number with the cuff range printed on the cuff, box, or manual. If you are outside the range, look for a compatible larger or smaller cuff from the same monitor brand. Not all cuffs are interchangeable across brands.
If an upper-arm cuff genuinely cannot be used because of arm size, pain, injury, dialysis access, lymphedema risk, prior surgery, or clinician instructions, ask a clinician what measurement site is safest for you. A wrist monitor may be a practical fallback for some people, but it requires very careful heart-level positioning.
Does the tube direction matter?
Usually, yes, but follow the cuff’s instructions. On many upper-arm monitors, the tube points down toward the hand or runs along the inside of the arm. Some cuffs are shaped or labeled differently.
The practical rule is this: do not rotate the cuff randomly just because the tube feels more convenient in another direction. If the cuff has an artery marker, place that marker where the manual says. If the cuff has no visible marker, place the cuff smoothly and consistently, with the tube untwisted and not pulling the cuff out of position.
FAQ
How far above the elbow should a blood pressure cuff be?
For most upper-arm cuffs, place the lower edge about one inch above the elbow crease. The cuff should sit on the upper arm, not over the elbow joint.
Should a blood pressure cuff go on bare skin?
Yes. Bare skin is best. Clothing, rolled sleeves, seams, or tight fabric under the cuff can interfere with compression and make readings less comparable.
Should the blood pressure cuff be at heart level?
Yes. Once the cuff is placed, support your arm so the cuff is roughly level with your heart. Arm position is a separate but closely related technique issue.
What if my cuff has no artery marker?
Check the manual first. If there is no visible marker, wrap the cuff smoothly on the bare upper arm, keep it above the elbow, avoid twisting the tube, and use the same orientation each time.
Bottom line
Correct blood pressure cuff placement is simple but important: bare upper arm, lower edge about one inch above the elbow, marker aligned with the inner arm, cuff snug and smooth, arm supported at heart level. If the cuff fits poorly or lands in a different spot each time, your log becomes harder to trust.
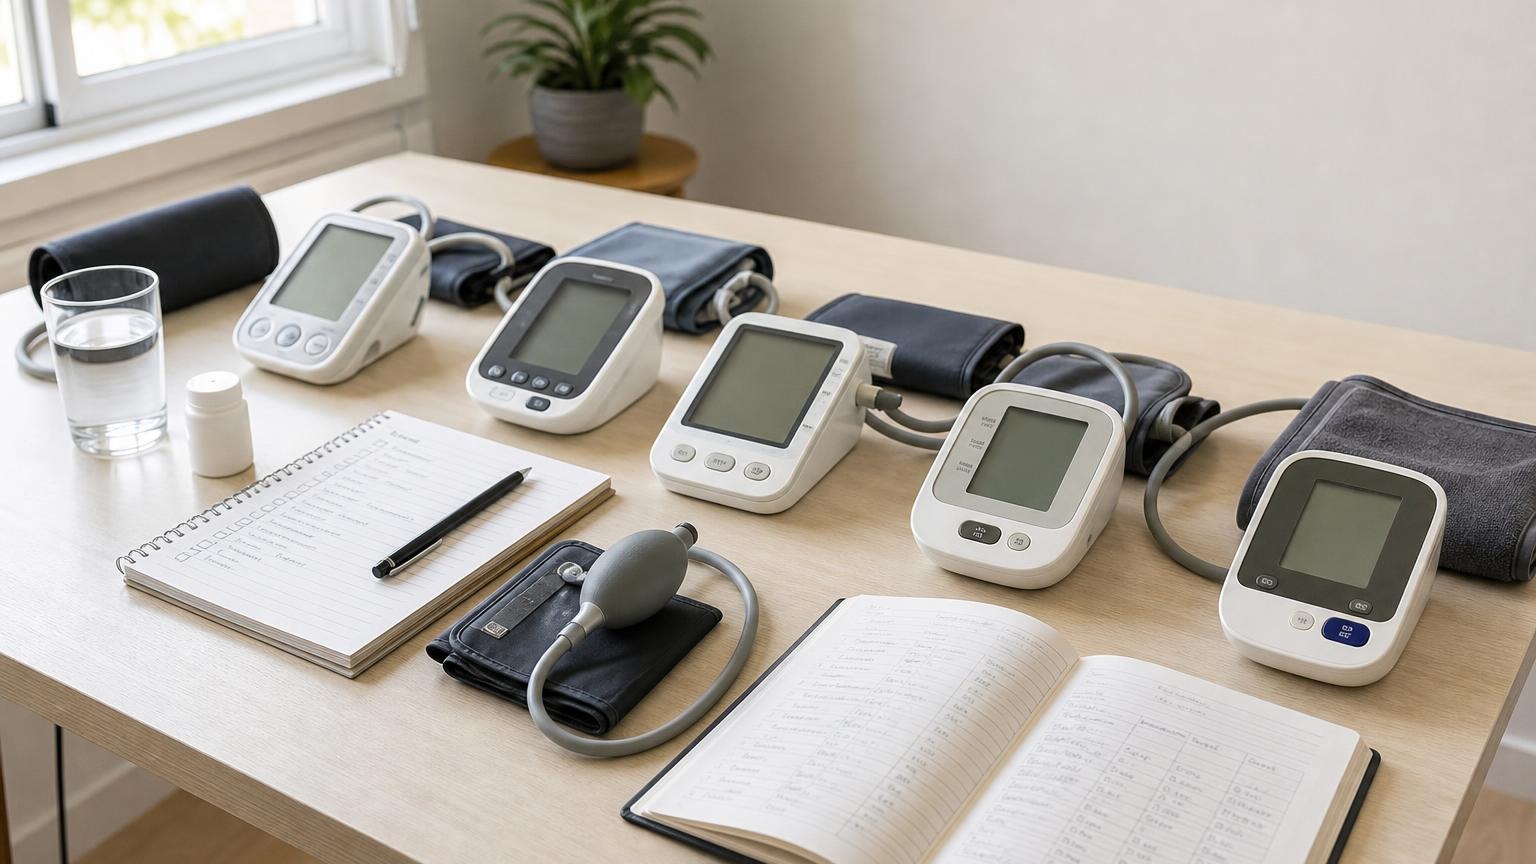
If your current monitor or cuff makes correct placement difficult, compare models and cuff options before replacing it.
This article is educational and not medical advice. Consult a qualified clinician before making decisions about diagnosis, treatment, medication, or which arm or measurement site is appropriate for your situation.
Top 5 picks
Best Blood Pressure Monitors For Seniors 2026
Five upper-arm monitors ranked with published scorecards—setup friction, comfort, readability, power convenience, and repeatable accuracy—so you can compare models before you buy.
See our Top 5 blood pressure monitor picksHome-monitoring advice is only useful if it is easy to verify and act on correctly.
We write explainers to be understandable to readers, search engines, and AI answer systems.
Compare our Top 5 blood pressure monitor picks for 2026, then track readings over time with consistent technique.