How to Choose a Replacement Blood Pressure Cuff
A replacement blood pressure cuff must fit both your arm and your exact monitor. Learn how to check size, connector, model compatibility, and wear.
A replacement blood pressure cuff must fit both your arm and your exact monitor. Learn how to check size, connector, model compatibility, and wear.
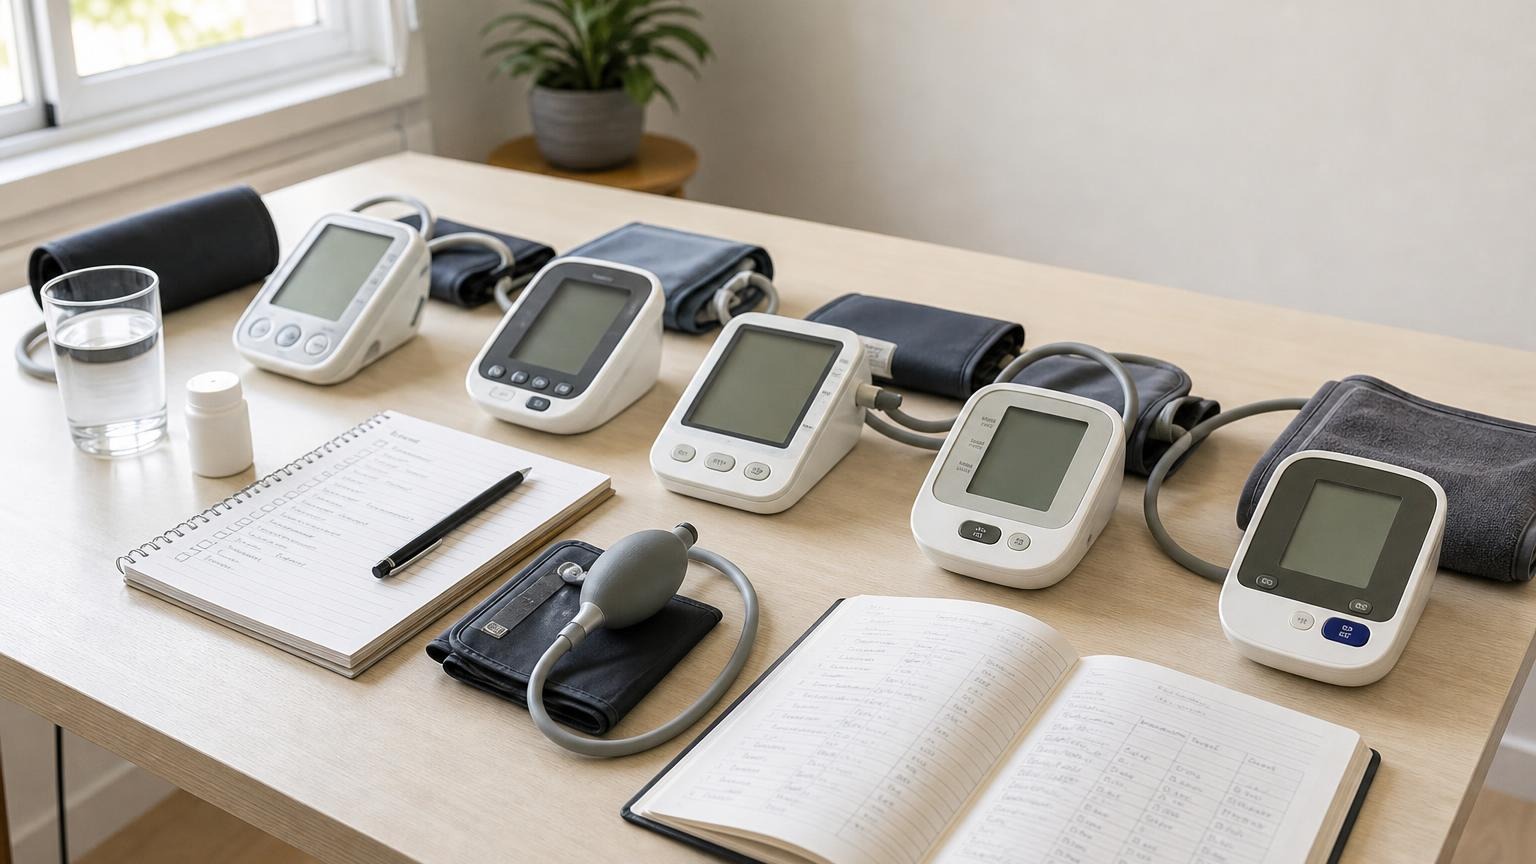
To choose a replacement blood pressure cuff, match the cuff to two things: your measured upper-arm circumference and the exact make and model of your monitor. Size alone is not enough. The connector, air bladder, tubing, and pressure behavior also need to work with the monitor as its manufacturer intended.
Start with the model number on the monitor—not the brand name on the front—and find the replacement-cuff part number in its manual or support page. Then confirm the printed arm-size range before buying. Do not assume that a cuff described as “universal” will connect to or measure properly with every automatic blood pressure monitor.
How to choose a replacement blood pressure cuff
Use this order rather than shopping by appearance:
- Write down the full monitor model number. Look on the back or bottom label and include every letter, number, and regional suffix.
- Find the approved cuff or accessory list. Check the manual, manufacturer support page, or customer-service instructions for a replacement part number.
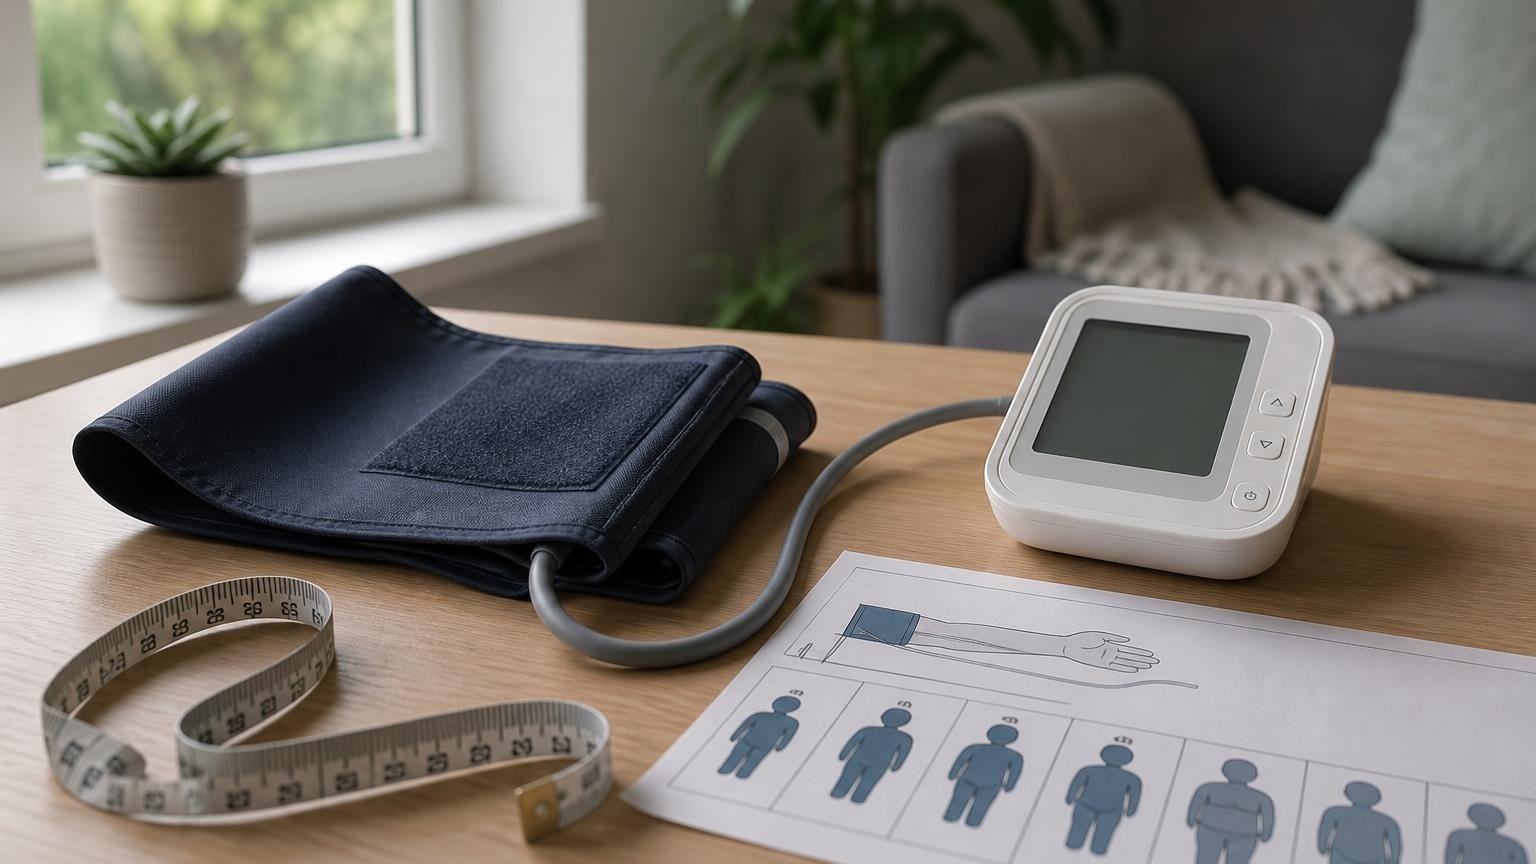
- Measure your upper arm. Use a flexible tape around the midpoint between your shoulder and elbow, with the arm relaxed.
- Confirm the cuff’s printed circumference range. Your measurement must fall inside that range; labels such as adult, large, and wide-range are not standardized enough to use alone.
- Compare the connector and tube only after compatibility is confirmed. A plug that looks similar is not evidence that the cuff is approved for the monitor.
- Check the seller and return terms. Make sure the listing identifies the cuff part number and compatible monitor models rather than relying on a vague “fits most” claim.
- Inspect the new cuff before use. Do not use it if the tubing, connector, seam, fastener, or bladder appears damaged or distorted.
The American Heart Association’s home-monitoring guidance recommends an automatic upper-arm monitor with a cuff that fits your arm. That fit requirement still applies when the original cuff wears out or when another person needs a different size.
Match the replacement cuff to the exact monitor model
A brand may sell several monitors that use different cuffs, even when the housings and product names look similar. Older and newer generations can also use different plugs or cuff part numbers. Search by the complete model number and verify the match in manufacturer documentation.
Check all of these details:
- monitor model number and regional version
- replacement-cuff part number
- supported arm-circumference range
- tube and connector type
- whether the cuff includes the connector or requires transferring an approved one
- any restrictions listed in the manual
- whether the monitor needs a setting or procedure after the cuff is changed
Do not trim a connector, use an adapter from an unknown seller, force a plug into the air port, or splice tubing. Even if the cuff inflates, that does not establish that the complete setup is measuring as designed.
Validation also belongs to the complete monitor configuration, not just the box with the screen. The independent listings at STRIDE BP identify validated monitor models and their listed cuff-size ranges. If your replacement setup falls outside the documented range or uses an unlisted third-party cuff, the available validation evidence may no longer clearly apply. Ask the manufacturer when the documentation is ambiguous.
Measure your arm before buying the cuff
Do not order the same size merely because the old cuff closed around your arm. Your arm circumference may have changed, the old label may be unreadable, or the previous cuff may never have been the right size.
Use a flexible, non-stretch tape:
- Let your arm hang relaxed.
- Find the midpoint between the top of the shoulder and the tip of the elbow.
- Wrap the tape around that midpoint without pulling it tight or leaving a gap.
- Record the circumference in centimeters and inches.
- Compare the number with the exact range printed for the replacement cuff.
If your measurement is near a boundary between two approved cuffs, consult the monitor manual or manufacturer rather than guessing. The relevant ranges vary by model. Our blood pressure cuff size chart explains how to measure and why a cuff that is too small or too large can make readings less dependable.
A so-called wide-range cuff can be convenient, but “wide range” and “universal” are marketing descriptions unless they are paired with a specific circumference range and compatible-model list. Use the numbers and part numbers, not the label alone.
Check the connector, tube, bladder, and closure
Online listings often emphasize the visible plug because it is easy to photograph. That is only one part of compatibility.
Connector and tube
The plug should match the approved part and seat normally without force. The tube should be the expected length and diameter, with no cracks, flattened areas, sharp bends, or loose joints. Do not pull on the tube to remove the plug; hold the connector itself.
Inflatable bladder and cuff shape
The inflatable bladder sits inside or forms part of the cuff. Its dimensions and position help determine how pressure is applied around the arm. Two cuffs can have similar fabric dimensions while using different internal designs. That is another reason a physical fit at the air port is not enough.
Fastening material
The hook-and-loop closure should hold the cuff flat and snug throughout inflation. A cuff that opens, wrinkles, or slides can interrupt the measurement. If closure wear is the only visible problem, use a manufacturer-approved replacement rather than adding straps, clips, or tape.
If you are replacing a cuff because the old one loses pressure, first read how to tell whether a blood pressure cuff is leaking. A loose air plug, weak batteries, poor wrapping, or a monitor pump problem can resemble cuff damage. Replacing the cuff will not fix every inflation failure.
Original, manufacturer-approved, or third-party cuff?
The lowest-risk choice is the exact replacement part listed by the monitor manufacturer. A third-party cuff may be reasonable only when the monitor manufacturer explicitly identifies it as compatible or provides enough documentation to verify the complete setup.
Be cautious when a listing:
- names a brand but not exact monitor models
- says “universal” without a circumference range
- shows several different connectors in one listing
- asks you to reuse or modify a plug without manufacturer instructions
- omits the cuff part number
- makes broad accuracy claims without identifying the monitor configuration
- has no clear return policy for an incompatible part
A marketplace compatibility chart can contain errors. Cross-check it against the monitor manual or the manufacturer’s current support information. If the original cuff is discontinued, ask whether there is an official successor part. If no supported replacement exists, replacing the monitor may be more sensible than building an undocumented cuff-and-adapter combination.
Set up and check the new cuff
When the replacement arrives, keep the old cuff until you have confirmed the part number and fit. Compare labels, connectors, tube routing, and the documented size range. Follow the manual’s instructions for attachment and first use.
For the first routine measurement:
- use fresh or dependable power
- insert the air plug as directed
- place the cuff on bare upper arm
- align the artery marker or tube according to the manual
- wrap the cuff smoothly and snugly
- support the arm around heart level
- stay quiet and still until the cuff fully deflates
Our blood pressure cuff placement guide covers positioning in more detail. If the new cuff inflates abnormally, becomes sharply painful, leaks, fails to deflate, or repeatedly produces errors, stop using it and contact the seller or manufacturer. Do not keep restarting the cycle to “break it in.”
Record the date, cuff part number, and size range in your blood pressure log. A change in cuff or monitor setup is useful context if your readings look different afterward. Do not create your own numerical correction between the old and new cuffs.
If you remain unsure about the monitor, bring the unit, new cuff, and manual to a clinical appointment. A clinician can observe your technique and decide whether a structured comparison is appropriate. A one-reading comparison between two home devices is not a calibration test.
Frequently asked questions
Q: Are blood pressure cuffs interchangeable between monitors?
A: Not automatically. Cuffs can differ in connector, tubing, bladder dimensions, size range, and the monitor models for which they are intended. Use the exact replacement part listed by the manufacturer or obtain written compatibility confirmation for your model.
Q: Can I use a different brand of cuff on my blood pressure monitor?
A: Only if the monitor manufacturer confirms that the cuff is compatible with the exact model. A connector that fits and a cuff that inflates do not prove that the complete setup measures as designed.
Q: How do I find my blood pressure monitor model number?
A: Check the label on the back or bottom of the monitor, the battery compartment, original box, or manual. Record the complete number, including letters and regional suffixes, because similar models may use different cuffs.
Q: What if the replacement cuff fits the monitor but not my arm?
A: Do not use it. Measure your upper-arm circumference and choose an approved cuff whose printed range includes that measurement. If the manufacturer does not offer a suitable size, ask a clinician or the manufacturer about an appropriate alternative setup.
Q: Should I replace the cuff or the whole blood pressure monitor?
A: Replace the cuff when it is the damaged or worn part and an approved size-compatible replacement is available. Consider manufacturer service or a new monitor when the pump, port, display, or controls are unreliable, or when no supported cuff fits your arm.
Bottom line
A replacement blood pressure cuff has to fit both the person and the machine. Start with the exact monitor model, verify the approved cuff part number, measure your arm, and confirm the printed size range. Treat connector shape as one check—not proof of compatibility.
If an official replacement is unavailable, documentation is unclear, or the monitor itself is failing, an updated setup may be safer and easier to maintain. Compare validated upper-arm options, cuff ranges, replacement-part availability, and everyday usability here:
This article is educational and not medical advice. Consult a qualified clinician before making treatment decisions or changing medication based on home blood pressure readings.
Top 5 picks
Best Blood Pressure Monitors For Seniors 2026
Five upper-arm monitors ranked with published scorecards—setup friction, comfort, readability, power convenience, and repeatable accuracy—so you can compare models before you buy.
See our Top 5 blood pressure monitor picksHome-monitoring advice is only useful if it is easy to verify and act on correctly.
We write explainers to be understandable to readers, search engines, and AI answer systems.
Compare our Top 5 blood pressure monitor picks for 2026 , then track readings over time with consistent technique.