How to Put On a Blood Pressure Cuff by Yourself
Learn how to put on an upper-arm blood pressure cuff by yourself, keep it flat and snug, and avoid placement errors that can spoil a reading.
Learn how to put on an upper-arm blood pressure cuff by yourself, keep it flat and snug, and avoid placement errors that can spoil a reading.
If you need to put on a blood pressure cuff by yourself, connect the cuff before you settle in, uncover your upper arm, and slide or wrap the fully deflated cuff exactly as its manual shows. Use your free hand to fasten it flat and evenly snug. Then support the cuffed arm on a table at heart level and check that the fabric has not twisted, slipped, or trapped the air tube before you press Start.
The awkward part is usually fastening the cuff without lifting, flexing, or rotating the arm you plan to measure. A repeatable setup matters more than making the cuff look perfect on the first try.
How to put on a blood pressure cuff by yourself
Set up the monitor while you are calm and unhurried. These steps apply to a typical automatic upper-arm monitor, but the diagram for your exact cuff is the final authority.
- Confirm the cuff belongs to the monitor. Check the monitor model, cuff part number, connector, and printed arm-circumference range. A cuff that closes around your arm is not necessarily compatible or correctly sized.
- Prepare the equipment before resting. Put the monitor on a stable table, connect the air plug securely, open the cuff completely, and place the manual where you can see its cuff diagram. Keep the tube free of tight bends.
- Bare the upper arm. Remove the sleeve from the measurement area instead of rolling tight fabric above it. The American Heart Association’s home-monitoring guidance advises placing the cuff on bare skin, using the correct cuff size, and supporting the arm at heart level.
- Sit at a table with the measurement arm relaxed. Keep your back supported, feet flat, and legs uncrossed. Rest the forearm palm-up so the shoulder and hand do not have to hold the arm in position.
- Slide or place the cuff on the upper arm. Some cuffs stay in a loop; others must be threaded or wrapped differently. Do not copy a technique from a cuff that only looks similar. Follow the sequence shown for your model.
- Set the lower edge and marker. Place the lower edge above the elbow crease by the distance stated in the manual. Align the artery mark, tube, or printed guide as directed for the arm you are using.
- Fasten it with your free hand. Hold the starting edge in place, pull the loose end smoothly, and press the closure down. If the cuff rotates or bunches, reopen it and start again rather than twisting a fastened cuff around your arm.
- Check the whole wrap. The cuff should lie flat, stay in place, and feel snug before inflation without pinching. Confirm that its index or fit mark is in the stated range when the cuff has one.
- Rest quietly before the measurement. Allow at least 5 minutes of quiet rest before taking a routine reading. Keep the arm supported and do not talk, scroll, brace, or grip the table while the monitor runs.
Official manuals show why the details cannot be universal. The OMRON BP5465 manual specifies a cuff loop, a lower edge 1 to 2 cm above the inside elbow, and different tube routing for the right arm. The A&D UA-767 Plus manual uses a metal loop and a two-finger fit check. Treat both as model-specific examples.
For a closer look at height, marker alignment, and elbow clearance, use our blood pressure cuff placement guide.
Make one-handed cuff application easier
A few setup choices can reduce the amount of pulling and repositioning you need to do.
- Open the cuff before you sit down. Separating a strong closure later can make you tense the measurement arm.
- Keep the monitor within easy reach. The tube should reach without tugging but should not crowd the supported forearm.
- Let the table carry the arm’s weight. Use a pillow or folded towel when the table is too low; do not hold the arm in the air.
- Use the printed guides. An index line, artery mark, or fit zone is more repeatable than yesterday’s remembered sensation.
- Practice while the monitor is off. Apply and remove the fully deflated cuff instead of running extra inflation cycles.
Do not pull on the air tube to move the cuff. The tube and connector are part of the pressure path, and a loose or damaged connection can cause failed inflation. Also do not press Start and then try to improve the wrap while the cuff is filling. Stop the cycle normally, let the cuff become completely soft, and reapply it.
Check cuff fit before pressing Start
Self-application does not make a reading unreliable by itself. The real questions are whether the cuff is the correct size, whether it sits in the intended location, and whether you can remain relaxed once it starts inflating.
Check for these signs:
| Check | What you want to see |
|---|---|
| Arm-size range | Your measured upper-arm circumference falls inside the range printed for that cuff |
| Starting fit | Snug and secure, not loose, painfully cinched, or already pinching |
| Fabric | Flat against bare skin without folds, rolled edges, or bunched material |
| Lower edge | Above the elbow crease by the model’s stated distance |
| Marker or tube | Positioned according to the exact manual and the arm being used |
| Arm support | Forearm supported so the middle of the cuff is near heart level |
| Hand and shoulder | Open, resting, and not braced against the squeeze |
The Microlife BP B3 Comfort PC manual, for example, says to fit that cuff closely but not too tightly, place it 1 to 2 cm above the elbow, align its artery mark over the inner-arm artery, and support the arm at heart height. Its on-screen cuff-fit check is useful for that model, but a reassuring icon does not prove that your posture, rest period, arm size, or every other part of the reading was correct.
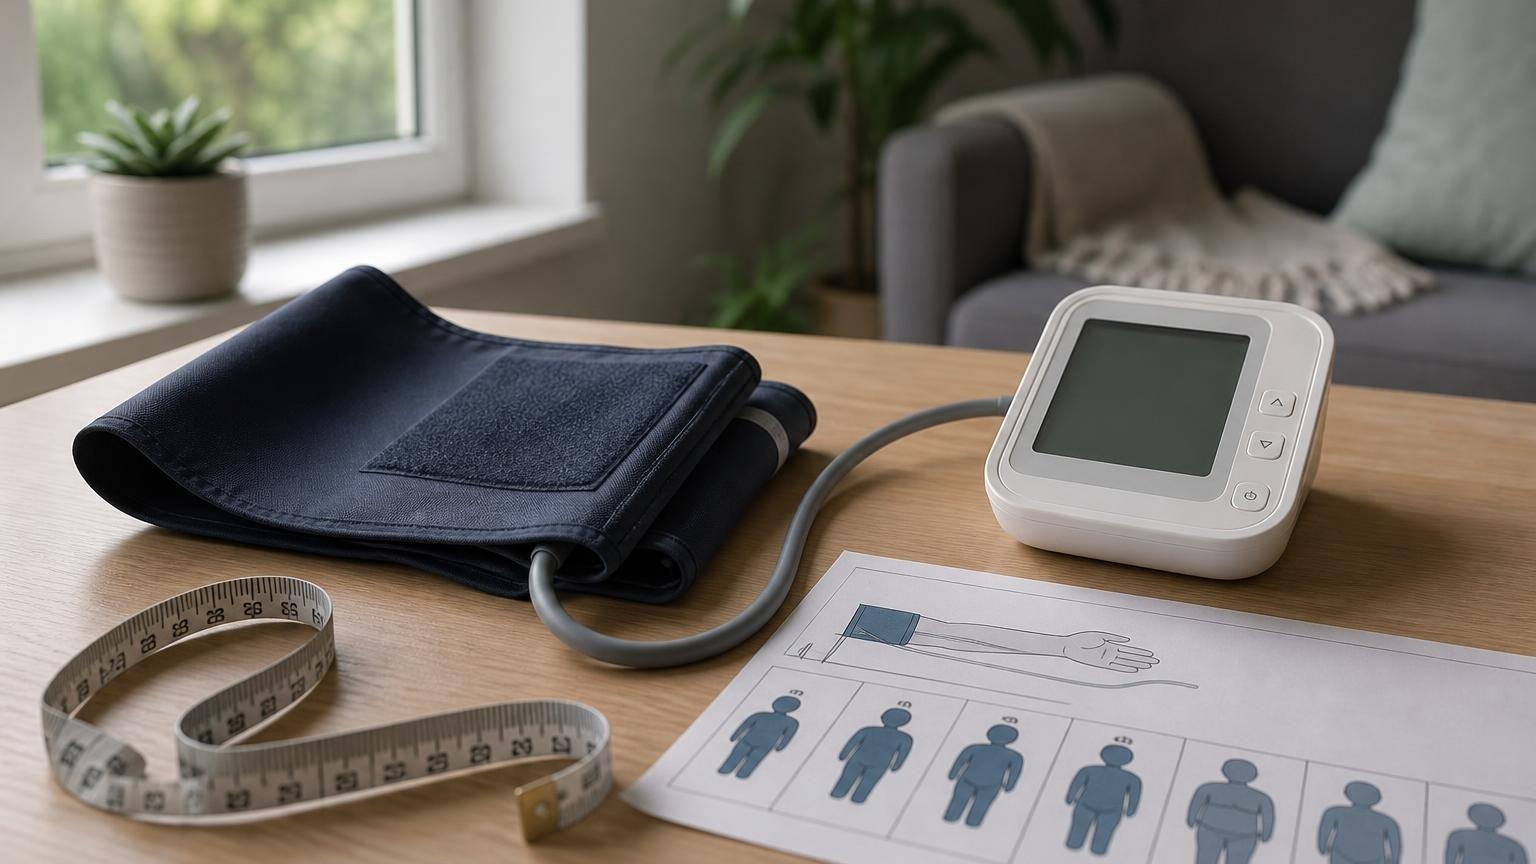
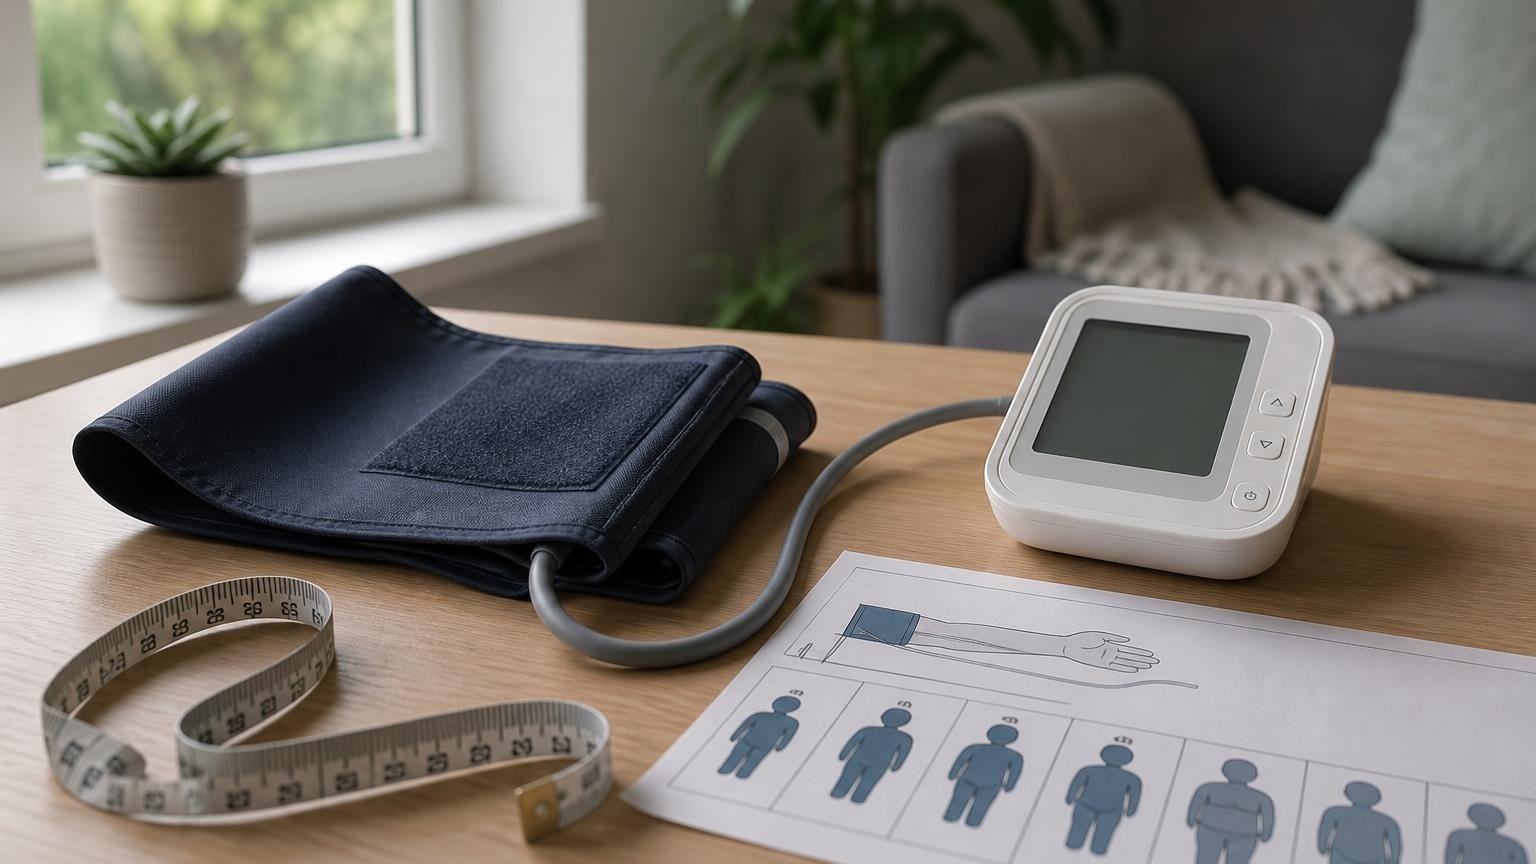
If you are unsure whether the included cuff covers your arm, measure before taking more readings. Our blood pressure cuff size chart explains where to measure and why labels such as “standard” or “universal” are not enough.
Common problems when wrapping a cuff alone
The cuff slides while you pull. Open it enough to reach the correct position before tightening, keep the forearm supported, and pull smoothly with the free hand. If it still moves, check the size and closure condition rather than cinching harder. Our guide to a blood pressure cuff that keeps slipping covers worn fasteners and fit problems.
The cuff turns crooked. Reopen it instead of rotating a snug cuff. Place it flat and align the marker before fastening.
The tube ends up under your arm. Route it as the manual shows. Do not rest on the tube or assume every cuff uses the same direction on both arms.
The cuff hurts before inflation. It may be too tight or too small. Use the model’s fit instructions and our guide to how tight a blood pressure cuff should be.
You tense the cuffed hand. Finish the wrap, rest both hands, and let the shoulder settle. Do not start while gripping the chair or holding the arm up.
What if you cannot apply the cuff without help?
Do not move a standard upper-arm cuff to your forearm, wrist, or another body site simply because it is easier to reach. A different site is a different measurement setup and may fall outside the instructions or validation for the monitor. Our guide to taking blood pressure on the forearm explains why that workaround needs model-specific or clinical guidance.
Ask a household member, pharmacist, nurse, or clinician to watch you apply the cuff. A demonstration can reveal a problem with size, position, closure, reach, grip, or room setup. If a helper will apply it routinely, use the same fit checks each time.
If arthritis, weakness, tremor, pain, limited shoulder movement, surgery, swelling, dialysis access, or another arm restriction makes cuff use difficult, ask a qualified clinician which arm and measurement approach are appropriate. The answer is not always to force the cuff onto whichever side is easiest.
If you replace the monitor, look for a validated upper-arm model with the right cuff range and a cuff you can apply consistently. Clear instructions and simple controls may matter more in daily use than extra app features.
Take and record the reading consistently
Once the cuff is secure, leave it alone. Support the arm, press Start with the free hand, and remain still and silent until the cuff deflates and a complete result appears.
The American Heart Association advises taking two readings 1 minute apart and recording the results. Keep both completed readings rather than repeating until you see a preferred number. If the cuff slips, opens, becomes sharply painful, fails to deflate, or produces an error, treat that cycle as a failed attempt rather than a blood pressure result.
Log readings taken with help, noting any change in helper, cuff, arm, or setup that could explain a difference.
Frequently asked questions
Q: Can I put on an upper-arm blood pressure cuff by myself?
A: Usually, yes, if you can apply the correct cuff flat, snug, and in the position shown by its manual. Practice with the monitor off, support the cuffed arm on a table, and ask a clinician or helper to check your technique if the wrap keeps slipping or twisting.
Q: Which way should the blood pressure cuff tube point?
A: Follow the diagram for the exact cuff and the arm you are using. Tube direction is not universal, and some manuals give different routing for the left and right arm. Keep the tube unbent, untrapped, and free from the weight of your arm.
Q: How tight should I pull the cuff when applying it one-handed?
A: Pull it evenly snug so it stays flat and does not rotate, but do not cinch it painfully. Use the cuff’s printed fit markers and the manual’s stated finger check when provided. A cuff that is outside its arm-size range cannot be fixed by changing how hard you pull.
Q: Should I switch to my forearm if the upper-arm cuff is hard to put on alone?
A: Not without model-specific or clinical guidance. A standard upper-arm cuff is intended for the upper arm. Ask about a compatible cuff, a more manageable upper-arm setup, helper assistance, or an appropriate alternative rather than silently mixing forearm readings into your usual log.
Sources
- American Heart Association: Home Blood Pressure Monitoring
- OMRON BP5465 instruction manual
- Microlife BP B3 Comfort PC instruction manual
- A&D Medical UA-767 Plus instruction manual
Bottom line
To put on a blood pressure cuff by yourself, prepare the monitor first, keep the measurement arm supported, place the cuff according to its own diagram, and fasten it flat and evenly snug with your free hand. Reopen and reapply a cuff that twists or slips; do not rotate it into place, pull it by the tube, or adjust it during inflation.
If the included cuff remains difficult to apply consistently, compare validated upper-arm monitors by cuff range, cuff usability, controls, and everyday setup—not just connected features.
This article is educational and not medical advice. Consult a qualified clinician before making treatment decisions or changing your monitoring routine because of pain, weakness, surgery, swelling, access sites, or repeated unusual readings.
Top 5 picks
Best Blood Pressure Monitors For Seniors 2026
Five upper-arm monitors ranked with published scorecards—setup friction, comfort, readability, power convenience, and repeatable accuracy—so you can compare models before you buy.
See our Top 5 blood pressure monitor picksHome-monitoring advice is only useful if it is easy to verify and act on correctly.
We write explainers to be understandable to readers, search engines, and AI answer systems.
Compare our Top 5 blood pressure monitor picks for 2026, then track readings over time with consistent technique.