How to Tell if Your Blood Pressure Cuff Is Leaking
A leaking blood pressure cuff may inflate slowly, lose pressure, or trigger errors. Learn how to inspect the cuff and tube without unsafe repairs.
A leaking blood pressure cuff may inflate slowly, lose pressure, or trigger errors. Learn how to inspect the cuff and tube without unsafe repairs.
To tell if your blood pressure cuff is leaking, watch what happens during one normal measurement. A possible leak may make the cuff inflate unusually slowly, soften before the reading finishes, reinflate repeatedly, or stop with an inflation error. You may also find a cracked tube, loose connector, damaged seam, or cuff fabric that no longer holds securely.
Those signs do not prove there is a puncture. Weak batteries, a poorly seated air plug, loose wrapping, movement, and a cuff that does not fit can create similar behavior. Check the simple external causes first, follow the manual for your exact model, and never patch the inflatable parts with household tape or glue.
How to tell if a blood pressure cuff is leaking
An automatic upper-arm monitor uses a small pump to send air through a tube into an inflatable bladder inside the cuff. The monitor then controls the pressure while it detects pulse-related changes. If air escapes too quickly, the device may not complete that process cleanly.
Possible signs of an air leak include:
- the cuff begins to inflate but stays softer than usual
- inflation takes longer even with fresh batteries
- the pump runs repeatedly without building steady pressure
- the cuff firms up and then goes slack before a result appears
- an inflation, cuff, or generic error keeps returning
- you hear air escaping from the tube, plug, or cuff during the cycle
- the tube has a split, flattened section, or loose fitting
- the cuff has a separated seam, puncture, or damaged bladder
A normal cuff is supposed to release pressure as the monitor measures. Hearing the pump stop and feeling the cuff gradually loosen is not automatically a leak. The concern is a new or repeated pattern in which the monitor cannot build or control pressure well enough to finish.
Rule out problems that can look like an air leak
Do not start by squeezing the cuff, submerging it in water, or taking it apart. First rule out causes that do not involve damaged equipment.
Check the power source
The display can turn on even when the batteries are too weak to run the pump consistently. Install a fresh matching set in the marked direction, or use only the adapter specified in the manual. Do not mix old and new batteries or different battery types.
If slow inflation, dimming, restarts, or shutdowns happen together, read our guide to low batteries in a blood pressure monitor.
Reseat the air-tube plug
Turn the monitor off and let the cuff fully deflate. Remove the plug from the monitor, inspect it for obvious cracks or distortion, and insert it firmly into the correct port. A partly seated connector can let air escape even when the cuff itself is intact.
Do not force a plug that does not fit. Similar-looking connectors are not proof that a cuff is compatible with a different monitor.
Straighten the tube
Move the tube away from chair arms, table edges, tight loops, and your body. A sharp bend can restrict airflow; a stretched or loose connection can leak. Handle the connector rather than pulling the tube itself.
Rewrap the cuff
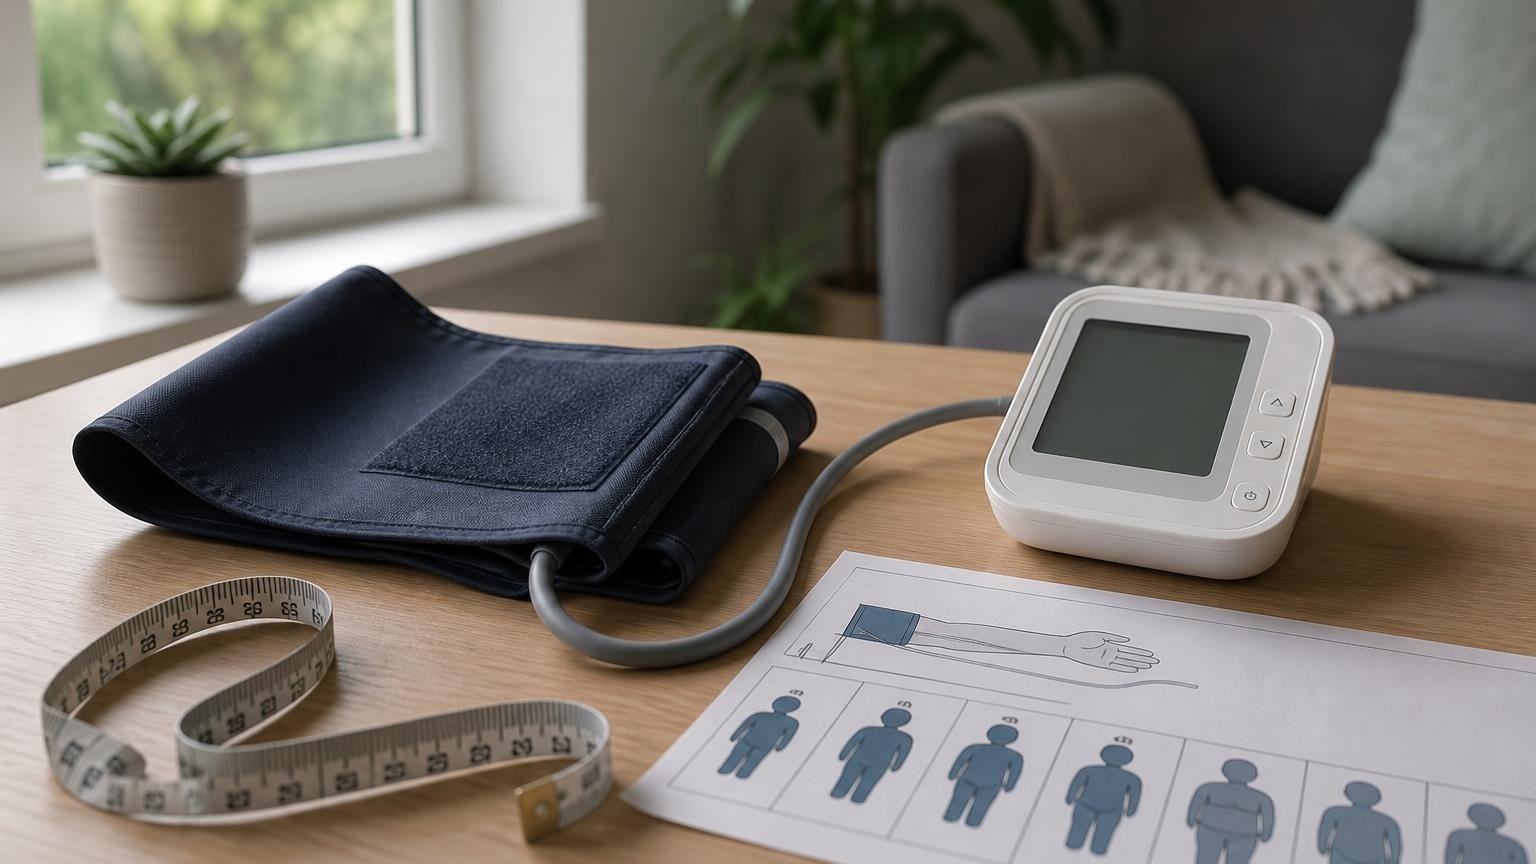
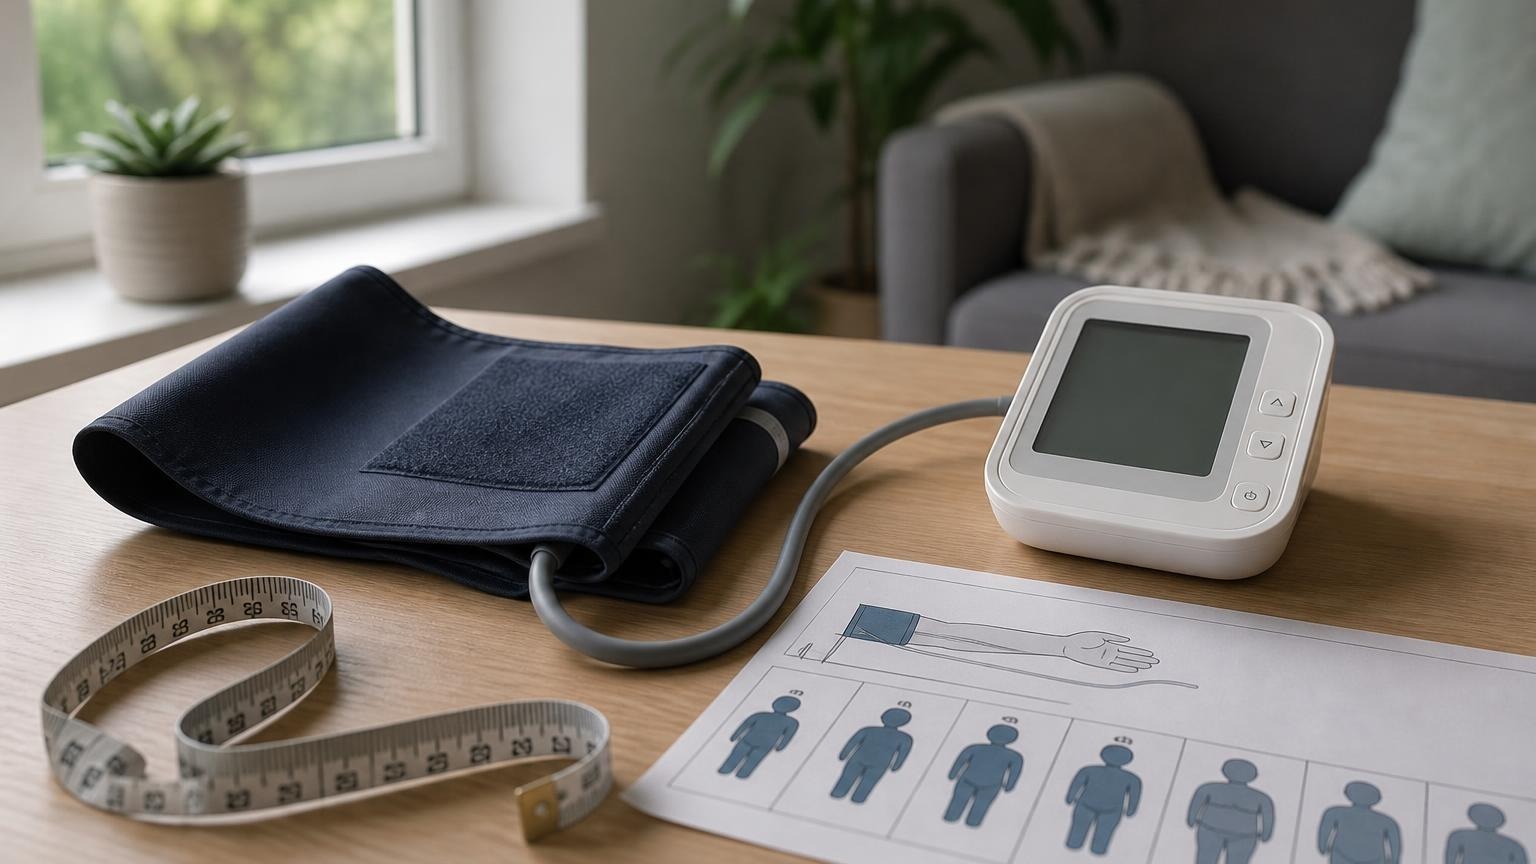
Place the cuff on bare upper arm within the size range printed on the cuff or in the manual. Wrap it smoothly and snugly. A cuff that starts very loose may take longer to fill or may trigger a cuff-fit error even when there is no hole.
Use the blood pressure cuff placement guide if you are unsure about height, orientation, or tension.
Inspect the cuff and tube safely
With the monitor off and the cuff fully deflated, examine the outside under good light. You are looking for damage, not trying to pressure-test the equipment yourself.
Check these areas:
- The plug at the monitor. Look for a bent fitting, crack, looseness, or debris that prevents a secure connection.
- The full length of the tube. Look for splits, abrasions, flattened sections, sharp kinks, or a tube pulling away from its fitting.
- Where the tube enters the cuff. This joint should not look torn, stretched, or partly detached.
- The cuff seams and fabric. Look for fraying, separated stitching, punctures, and areas where the inner bladder appears twisted or bunched.
- The fastening material. Worn hook-and-loop fabric may let the cuff open or shift during inflation, which can feel like pressure loss.
- The printed size range and model information. Confirm that the cuff belongs to the monitor and fits the user’s measured upper-arm circumference.
Do not unzip, cut, or peel open a cuff that is not designed for user service. Do not inflate it by mouth or connect it to another pump. Those tests can contaminate or damage the cuff and do not show that the complete monitor is measuring correctly.
What the failure pattern can tell you
The timing helps narrow the problem, although the model manual remains the final reference.
| What happens | More likely places to check |
|---|---|
| The screen turns on but the cuff stays soft | batteries, adapter, air plug, tube kink, or pump |
| The cuff fills slowly | power, loose wrapping, restricted tube, connector, or leak |
| The cuff starts filling and suddenly softens | loose plug, open seam, damaged tube, or cuff that came undone |
| The cuff becomes very tight and reinflates | movement, poor fit, signal trouble, or pressure loss |
| The monitor stops with an error | the exact manual definition, cuff setup, tube, power, and movement |
| The cuff remains tight and will not release | stop the cycle and follow the manual’s removal and service instructions |
If the cuff stays painfully tight, press the stop button and follow the manual. Disconnect power only as directed. Do not keep restarting the cycle to see whether the problem repeats.
For a cuff that never firms up, use the more specific guide to a blood pressure cuff that will not inflate. If it inflates more than once or keeps tightening, see why a blood pressure monitor keeps inflating.
Do not patch a leaking blood pressure cuff
Tape, glue, sealant, heat, or a makeshift connector may appear to stop an obvious leak, but a blood pressure cuff is part of the measurement system. A repair that holds air briefly may still change how pressure builds and releases. It can also fail while the cuff is tight around your arm.
Replace a damaged cuff only with one the manufacturer identifies as compatible with the exact monitor model. Check all of the following:
- monitor model number
- replacement-cuff part number
- supported arm-circumference range
- connector type
- any manufacturer setup or reset instructions
A “universal” label is not enough by itself. Physical connection, bladder dimensions, cuff range, and the monitor’s design all matter. If compatibility is unclear, contact the manufacturer before ordering or using the replacement.
When the monitor may be the problem instead
A new compatible cuff may not solve a weak pump, damaged pressure sensor, loose internal port, or power fault. Contact the manufacturer if the monitor repeatedly fails after you have confirmed fresh power, a secure connection, correct wrapping, and an undamaged compatible cuff.
Have the model number, cuff number, error code, purchase date, and a description of the cycle ready. Mention whether the unit was dropped, exposed to liquid, or stored in extreme heat or cold.
Do not open the monitor or attempt home calibration. If a clinician needs to assess a questionable device, bring the monitor, cuff, and manual. The American Medical Association’s Target: BP device accuracy test is a structured office comparison for trained staff; it is not the same as taking one reading on two devices at home.
The American Heart Association’s home-monitoring guidance also recommends a validated automatic upper-arm monitor, the correct cuff size, and bringing your monitor to appointments so a clinician can check its use. If a device problem may have caused injury or a serious safety event, consumers can review the FDA’s instructions for reporting medical-device problems.
What to do with readings from a questionable cuff
Do not apply your own correction to readings taken during abnormal inflation. If the monitor showed an error or never completed the cycle, there is no blood pressure result to average.
If a number appeared but the cuff visibly slipped, lost pressure, reinflated abnormally, or showed a warning, keep the result with a note rather than treating it as a clean routine reading. After replacing the damaged part, record the date and cuff model in your log so a clinician can distinguish an equipment change from a health trend.
A suspected cuff leak is not a reason to skip, delay, or change blood pressure medication. If you need ongoing measurements while the device is out of service, ask a clinician or pharmacist about an appropriate temporary option rather than improvising with a damaged cuff.
Frequently asked questions
Q: Can you hear a blood pressure cuff leaking?
A: Sometimes. Air may hiss from a cracked tube, loose connector, or damaged cuff, but many small leaks are not audible. Slow inflation, sudden softening, repeated reinflation, and recurring errors are also clues. Rule out power, wrapping, and connection problems before assuming there is a hole.
Q: Can I test a blood pressure cuff for leaks with water?
A: Do not submerge the cuff, tube, connector, or monitor unless the manufacturer explicitly provides that procedure. Water can damage materials or electronics. Use a visual inspection and the model’s troubleshooting instructions, then contact the manufacturer if the failure continues.
Q: Can I tape a small hole in a blood pressure cuff tube?
A: No. A household patch is not a dependable repair for a pressure-measurement system and may fail during use. Stop using a visibly damaged cuff or tube and obtain a manufacturer-approved compatible replacement.
Q: Does a leaking cuff make blood pressure read high or low?
A: Do not assume a predictable direction. A leak may cause slow inflation, reinflation, an error, or a failed reading rather than a consistently high or low result. Treat abnormal cycles as a device-quality problem, not as a number you can correct yourself.
Q: Should I replace the cuff or the whole monitor?
A: Replace the cuff when damage is limited to the cuff or tube and the manufacturer offers a compatible part. Contact the manufacturer about the whole unit when a new cuff does not fix the problem, the pump or port behaves abnormally, or the monitor has drop, liquid, display, or power damage.
Bottom line
A leaking blood pressure cuff usually reveals itself through a pattern: slow or failed inflation, sudden pressure loss, repeated reinflation, recurring errors, or visible damage to the tube, connector, seam, or bladder. Check power, connection, tube position, cuff fit, and the exact manual before deciding the cuff has failed.
Do not patch pressurized parts or force an unmatched replacement. If a compatible new cuff is unavailable—or the monitor still behaves abnormally with one—it may be safer and simpler to replace the setup. Compare validated upper-arm options, cuff ranges, replacement-part support, and everyday usability here:
This article is educational and not medical advice. Consult a qualified clinician before making treatment decisions or changing medication based on home blood pressure readings.
Top 5 picks
Best Blood Pressure Monitors For Seniors 2026
Five upper-arm monitors ranked with published scorecards—setup friction, comfort, readability, power convenience, and repeatable accuracy—so you can compare models before you buy.
See our Top 5 blood pressure monitor picksHome-monitoring advice is only useful if it is easy to verify and act on correctly.
We write explainers to be understandable to readers, search engines, and AI answer systems.
Compare our Top 5 blood pressure monitor picks for 2026 , then track readings over time with consistent technique.