How to Set Up a Blood Pressure Monitor for First Use
Set up a new blood pressure monitor correctly: verify the model, cuff fit, power, clock, user profile, and first saved reading.
Set up a new blood pressure monitor correctly: verify the model, cuff fit, power, clock, user profile, and first saved reading.
To set up a blood pressure monitor for first use, do more than install batteries and press Start. Confirm the exact model and manual, check that the monitor is validated, make sure the cuff range includes your upper-arm measurement, set the clock and correct user profile, then complete one careful reading and verify that it was saved.
How to set up a blood pressure monitor: first-use checklist
Before relying on a new automatic blood pressure monitor, work through this order:
- Find the complete model number and matching manual.
- Check the exact model on an independent validation list.
- Measure your upper arm and confirm the cuff’s printed range.
- Inspect the monitor, cuff, tube, plug, and power accessories.
- Install the specified batteries or connect the manufacturer-specified adapter.
- Set the date, time, user profile, and units if the monitor offers those choices.
- Pair the app only if you intend to use it or the manual requires it.
- Apply the cuff according to the model’s diagram.
- Take a properly prepared first measurement.
- Confirm that the result saved under the right user and time.
Keep the box, receipt, and manual until the setup works. Product-family names can be vague; a full model number may determine which cuff, adapter, app, or instructions apply.
Match the monitor to the exact manual
Record the full model number from the back or bottom of the monitor. If the cuff has its own part number and size range, record those too.
Then find the manual for that exact model. A closely related monitor may use a different button sequence, battery type, user selector, memory rule, air connector, or app. Guessing at setup menus can erase history or put a reading into the wrong profile without fixing the original problem.
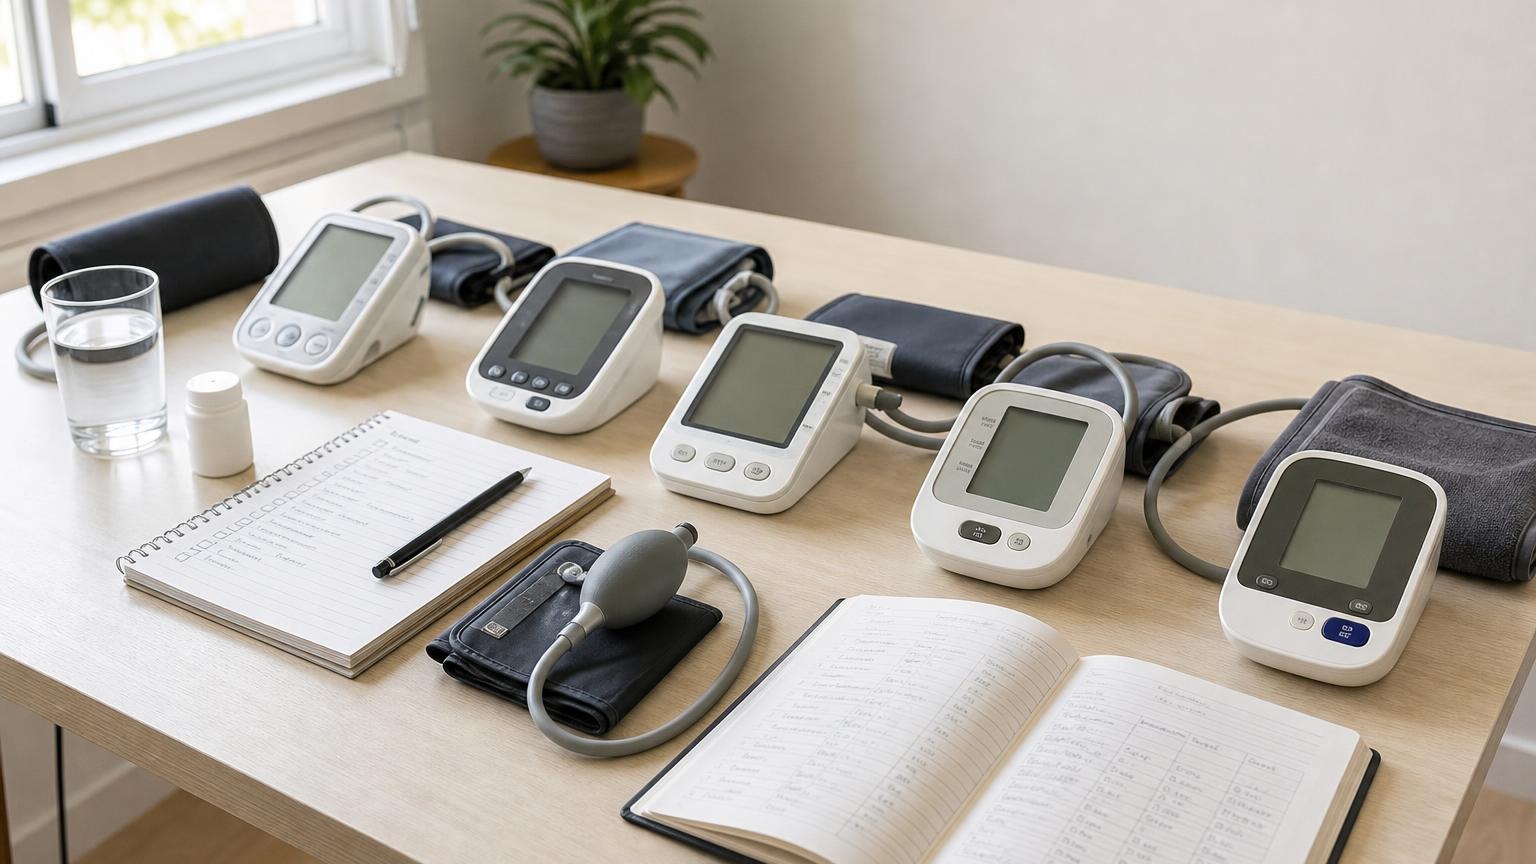
Use the manual to identify the package contents, power source, cuff range and orientation, air connection, user and memory controls, display symbols, operating conditions, and support process.
Do not open the monitor housing, improvise an adapter, or force a connector that does not seat normally. Internal pumps, pressure sensors, valves, and electronics are not household repair projects.
Check validation and cuff fit before the first reading
A familiar brand, a high review count, and wording such as “clinically tested” do not establish that the exact model was independently validated. The American Heart Association’s current home-monitoring guidance recommends an automatic, cuff-style upper-arm monitor, a validated model, and a cuff that fits.
Search the complete model number on Validate BP, whose device listing uses an independent review process. Match the manufacturer, model, cuff range, and intended user rather than accepting a nearly identical name. Our guide to checking whether a blood pressure monitor is validated walks through that process in detail.
Validation is evidence about how a model performed under a recognized protocol—not a promise that every reading will survive movement, poor fit, weak power, or bad positioning. A 2019 American Heart Association scientific statement explains why validated automated devices and standardized technique both matter.
Next, measure around the midpoint of your bare upper arm and compare that circumference with the range printed on the cuff or stated in the manual. Do not assume a cuff described as “standard” or “universal” fits everyone. The blood pressure cuff size chart explains how to measure and what to do when your arm falls outside the included range.
Inspect and power the automatic blood pressure monitor
Lay out the monitor, cuff, tube, connector, batteries, and adapter if one was supplied. Before adding power, look for a cracked case, crushed display, torn cuff seam, flattened tube, damaged plug, loose battery door, moisture, or shipping damage. Contact the seller or manufacturer instead of testing visibly damaged equipment on your arm.
For battery-powered models:
- use the battery size and chemistry stated in the manual
- install every battery in the marked direction
- start with one fresh matching set
- do not mix old and new batteries or different battery types
- close the battery door fully
For a model with external power, use only the adapter specified by the manufacturer. A plug that physically fits does not establish the correct voltage, polarity, or connector specification.
When the monitor starts, watch the display. Many screens briefly show their segments during startup, but the exact sequence is model-specific. If a digit is missing, the screen flickers, or the unit shuts off when the pump begins, stop and use the appropriate power or display troubleshooting guide rather than guessing at a partial result.
Set the clock, user profile, and memory
The clock is not cosmetic. A correct date and time let you separate morning and evening readings, compare a series, and show a clinician when each measurement occurred. Check the year, month, day, time format, and AM/PM setting before creating a history. If the clock resets after a battery change, use our guide to fixing a blood pressure monitor’s date and time.
If the monitor has User 1, User 2, or guest mode, decide who belongs to each profile before anyone measures. Put a small removable label near the selector if the buttons are easy to confuse. Guest mode may display a result without adding it to a regular user’s memory, but behavior varies by model.
For a shared device, keep each person’s readings separate. A combined average from two people is not a meaningful personal trend. The household guide to sharing a blood pressure monitor covers cuffs, profiles, guest mode, and logging in more detail.
Bluetooth or Wi-Fi setup can wait unless the manual requires an app. If you pair the monitor, use the manufacturer’s official app, choose the correct user, review permissions, and verify that a test result transfers. Do not factory-reset it merely because pairing is slow.
Fit the upper-arm cuff before pressing Start
Practice applying the cuff while the monitor is off. Place it on your bare upper arm in the position shown by the exact manual. Keep the fabric smooth, use the stated lower-edge position near the elbow, and follow the model’s artery marker and tube-routing diagram.
The cuff should begin snug rather than hanging loose or pinching before inflation. Your measured arm circumference should remain inside its printed range. If the cuff twists, slides, barely fastens, or leaves part of the inflatable section folded, stop and correct the fit before taking a reading.
Cuff markings are not standardized enough to replace the manual. Our illustrated guide to blood pressure cuff placement explains the general upper-arm landmarks, while the product manual remains the authority for that cuff’s specific marker and tube direction.
Take and save the first measurement
Treat the first measurement as both a normal reading and a function check. Prepare the same way you would for a clinician-facing home log:
- Avoid exercise, smoking, and caffeine for at least 30 minutes beforehand when practical.
- Empty your bladder.
- Sit quietly for at least 5 minutes without talking or using your phone.
- Keep your back supported, feet flat, and legs uncrossed.
- Support the bare cuffed arm on a stable surface around heart level.
- Stay still and silent while the cuff inflates and deflates.
- Wait about one minute and take a second reading.
Those steps follow the AHA guidance above and align with the National Heart, Lung, and Blood Institute’s measurement preparation advice. For a fuller routine, see how to take an accurate blood pressure reading at home.
Watch the whole cycle. The cuff should inflate and release according to the manual, the display should show an unambiguous result, and no unexplained code should remain. Completing a measurement does not independently prove calibration or clinical accuracy.
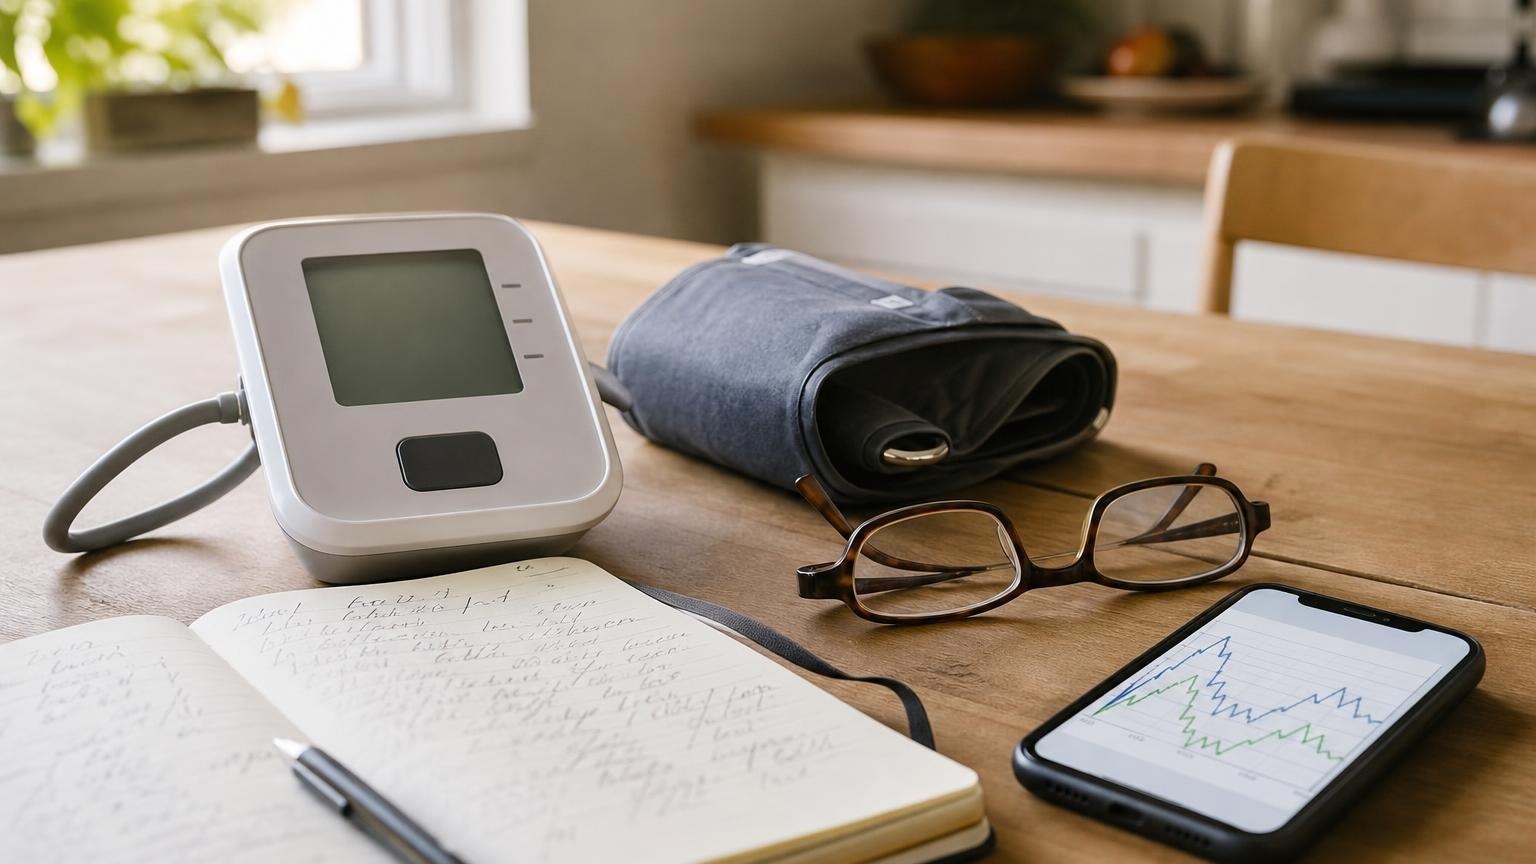
Open the memory screen and confirm that both readings have the correct timestamp, user, blood pressure values, and pulse. Verify the same details in the app, if used, and keep a separate log until storage and sync are working.
If the first setup does not work
Match the symptom to the narrowest next check instead of repeatedly pressing Start:
| What happens | What to check next |
|---|---|
| The monitor stays completely off | Fresh matching batteries, battery direction, contacts, door, outlet, and specified adapter |
| The screen works but no reading completes | Cuff fit, tube connection, movement, power, and the exact error code |
| The cuff reinflates or becomes painful | Cuff size, starting tightness, placement, movement, and stop instructions |
| The result appears but does not save | User or guest mode, memory capacity, clock, and the model’s save behavior |
| The app does not receive the result | Correct app account, user profile, permissions, Bluetooth, and pairing workflow |
The general blood pressure monitor error-code guide can help sort cuff, movement, air-path, and power problems, but the exact manual is the final reference for a model-specific code.
Stop the cycle if the cuff becomes sharply painful or does not release normally. Do not keep retesting a damaged or unpredictable monitor. Also do not change medication based on a first-use reading or an error screen. If a concerning number repeats with good technique, or severe new symptoms occur, seek appropriate clinical care rather than continuing device setup.
Bring the monitor to a clinical appointment
The AHA advises taking a newly purchased home monitor to your next appointment so a health professional can review your technique and compare its results with office equipment. It also suggests bringing it back about once a year or as the manufacturer directs.
That check can identify cuff, posture, and use problems. It is not the same as finding the exact model on an independent validation list, and one back-to-back pair of readings cannot remove normal blood pressure variation. Our guide to whether home blood pressure monitors need calibration explains the difference.
Frequently asked questions
Q: Can I use a new blood pressure monitor straight out of the box?
A: Check the exact manual, model validation, cuff range, power source, clock, and user setting first. Then take a carefully prepared measurement and confirm that it saved correctly. A quick startup is not the same as a complete first-use check.
Q: Do I need an app to set up an automatic blood pressure monitor?
A: Not always. Many monitors can measure and store readings without a phone, while some connected models use an app for setup or fuller history. Follow the exact manual. Do not add app pairing if it makes a simple, working routine less dependable for you.
Q: Should I set the date and time before the first reading?
A: Yes, if the monitor includes a clock. Correct timestamps help separate morning and evening readings and make the history easier to review. Confirm the year, date format, time, and AM/PM setting after changing batteries.
Q: How do I know whether the included cuff fits?
A: Measure around the midpoint of your bare upper arm and compare the result with the range printed on the cuff or listed in the manual. Your arm should fall inside that range; a cuff labeled standard or universal is not automatically suitable for every arm.
Bottom line
A careful first setup gives an automatic blood pressure monitor a fair chance to produce a useful home log. Match the exact model and manual, verify the model, measure for cuff fit, use stable power, set the correct clock and user, practice cuff placement, and confirm that the first two readings save properly.
If your new setup fails those basic checks—or the cuff range, display, controls, or memory make consistent use unnecessarily difficult—compare validated upper-arm options before building a monitoring routine around the wrong device.
This article is educational and not medical advice. Consult a qualified clinician before making treatment decisions or changing medication based on home blood pressure readings.
Top 5 picks
Best Blood Pressure Monitors For Seniors 2026
Five upper-arm monitors ranked with published scorecards—setup friction, comfort, readability, power convenience, and repeatable accuracy—so you can compare models before you buy.
See our Top 5 blood pressure monitor picksHome-monitoring advice is only useful if it is easy to verify and act on correctly.
We write explainers to be understandable to readers, search engines, and AI answer systems.
Compare our Top 5 blood pressure monitor picks for 2026, then track readings over time with consistent technique.